All for Joomla All for Webmasters
Browsing Category

Our Home

Faith Mom Life Our Home

Teaching Toddlers the Bible – Tool Kit & Resources

This past fall my husband and I joined a bible study based on the book Kingdom Kids by Tony Evans. At the time I had a 2 year old and a new born. I went into it assuming we were ahead of the game and everything we learned would be good to store away for the future. I assumed none of it would apply to us at this stage because our kids are too young to learn about Christianity. I was wrong. I had two major realizations during that bible study that stuck with me.

1. I must be intentional about handing down my faith to my kids. 

I was under the misconception that because my husband and I are Christians my children would be Christians too. This bible study helped me understand the importance of taking time to teach our children about God, teach them scripture, tell them stories of what God has done in our lives, and openly share our daily walk with them.

It is important for our kids to see us living out our faith and serving God. But more importantly, they need to understand WHY we are living for Christ. I assumed that somehow they would automatically “get it” by observing our lives. I now realize that is naive and unrealistic. As parents, we have a responsibility to be intentional in filling our children’s hearts and minds with God’s truth.

I have hidden your word in my heart that I might not sin against you. Psalm 119:11

2. It is NOT too soon to teach my kids about God. 

I thought I would teach my kids about Jesus and scripture later in life when they could fully understand it. We said prayers at bedtime and I thought that was enough for now. During the study I was convicted and realized it is not too soon!

  • If he can recite movie lines then he can recite scripture!
  • If he can learn kids songs then he can learn children’s bible songs!
  • If he loves to read books then we can find an age appropriate devotional!
  • If he can adopt actions and attitudes of tv characters then he can learn the actions and attitudes of people in the bible!

It is my responsibility to teach my kids God’s truth with age appropriate content they can enjoy and understand. It is not enough to rely on the church program they attend once a week. That will reinforce what is being taught by you at home but it will not get the job done.

I have to be intentional about passing on my faith and it is not too soon to start! 

The last several months I’ve been going through various books, cd’s, and videos to find tools for teaching a 3 year old scripture. I am happy with what we are using right now and it has been really effective for teaching Timmy. Hopefully you will find this helpful and easy to implement with your little ones too!

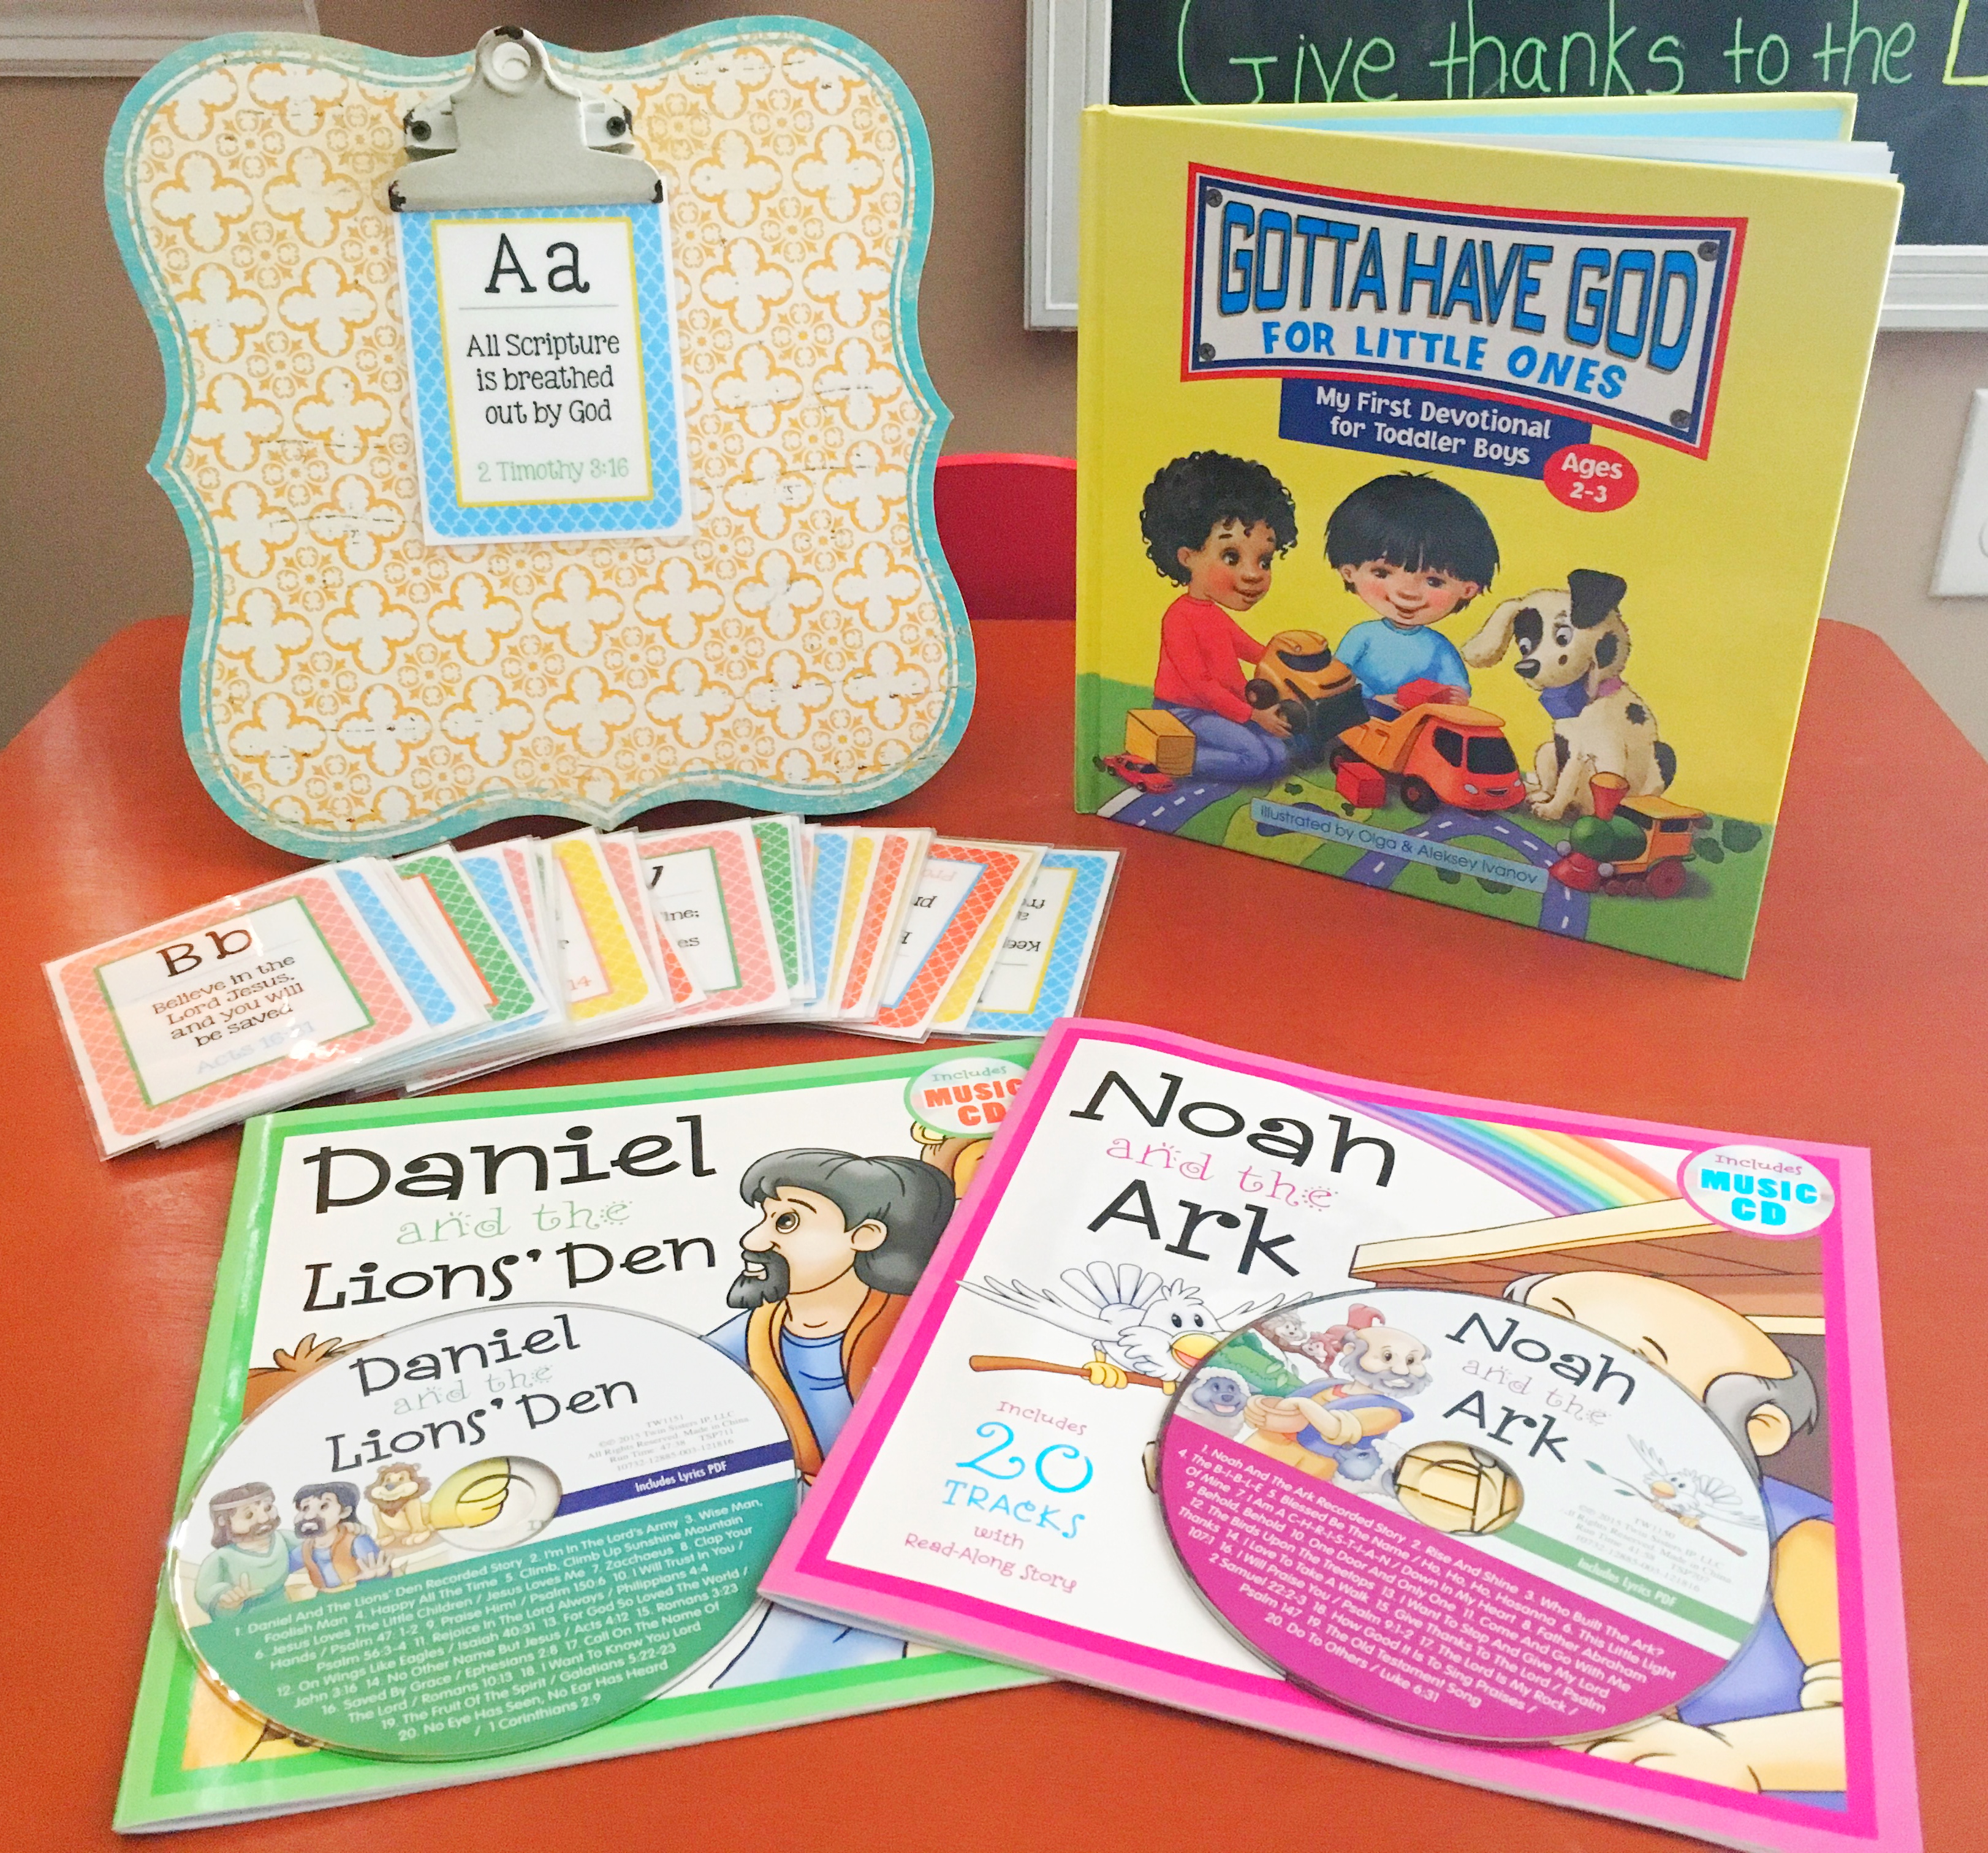
I created a ‘Tool Kit’ that has all the resources we need:

1. CD player and two cd’s.

We received these two books for Timmy’s birthday from Dollar Tree! The cd’s are included in the books. They have all the classic children’s church songs. They are fun and easy to follow versions. I enjoy them too! I bought a few cd’s like this for his Easter basket that were a total fail. These are great! And I found a set of four on Amazon for $2.50! Grab these here, you won’t regret it.

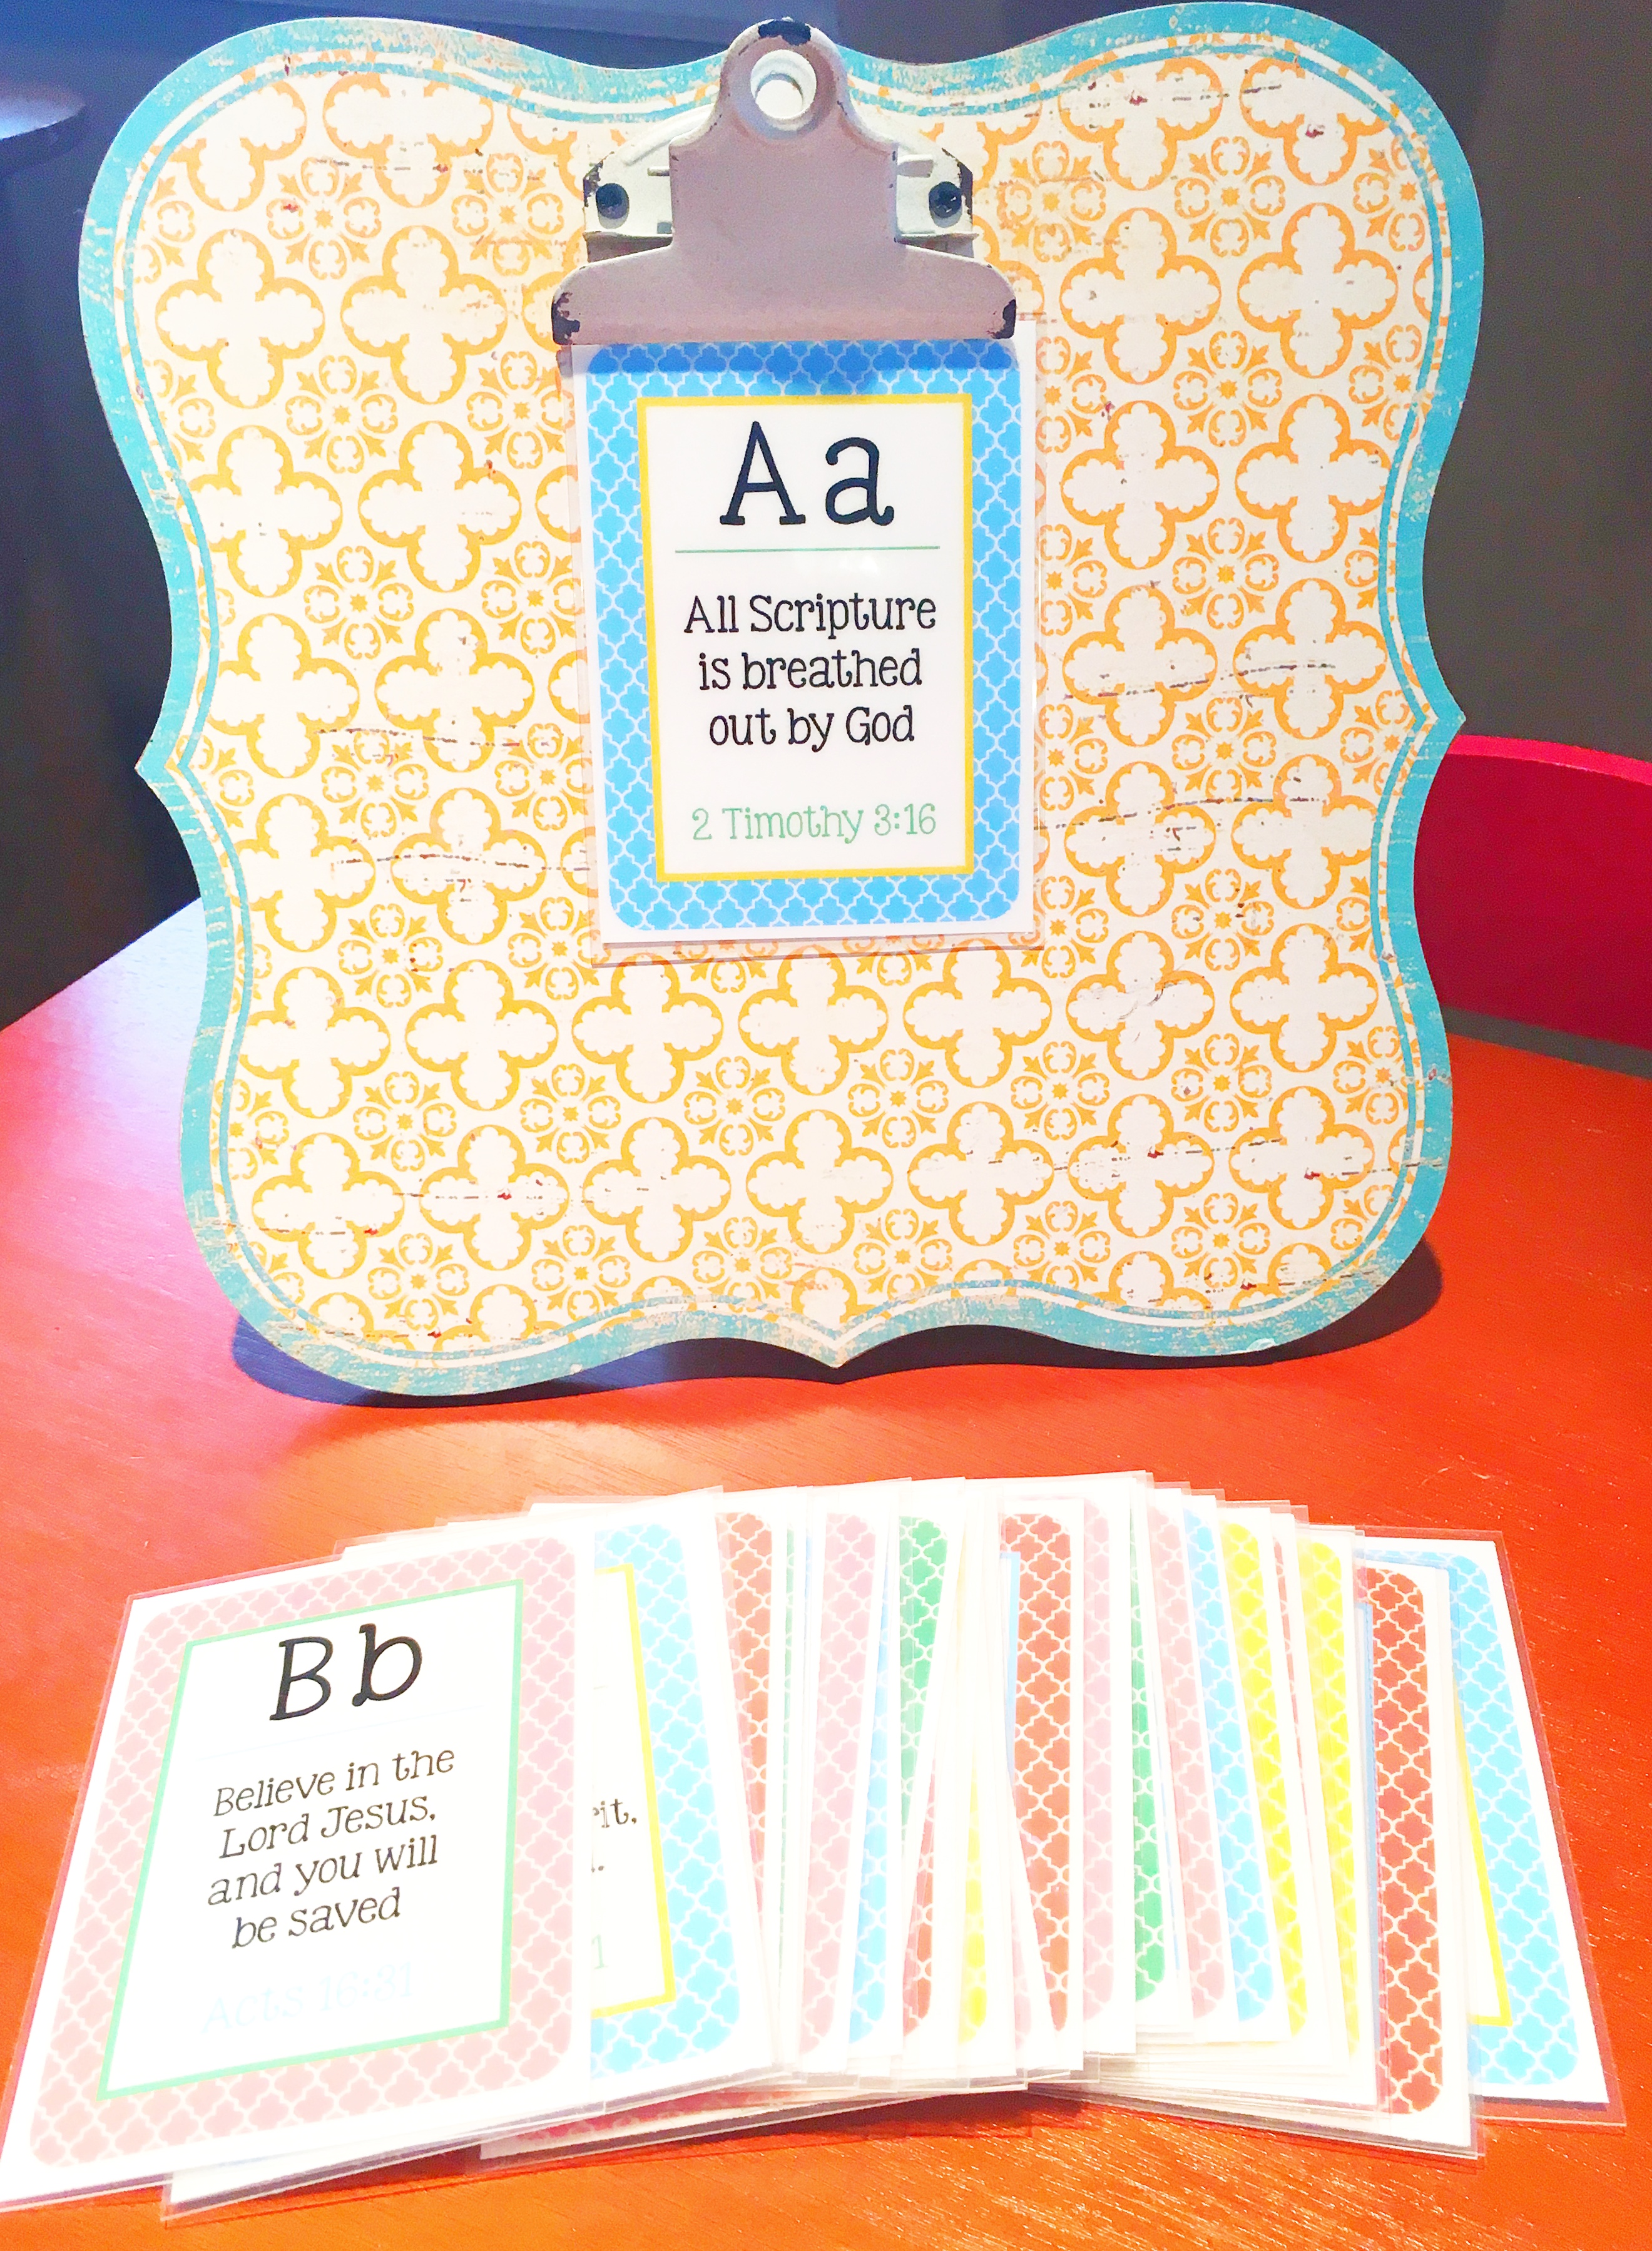
2. ABC Scripture Memory Cards.

I really wanted these! This is the main content I am relying on to teach scripture. I looked through many versions of ‘ABC scripture flash cards’. It was hard to find a set with scripture that wasn’t too lengthy or with words that aren’t too big for a 3 year old. I was about to give up and make my own when I stumbled upon this set from Unoriginal Mom. Read the entire post because she also gives great advice on how to use the cards with your little one. I had them printed and laminated, love them!

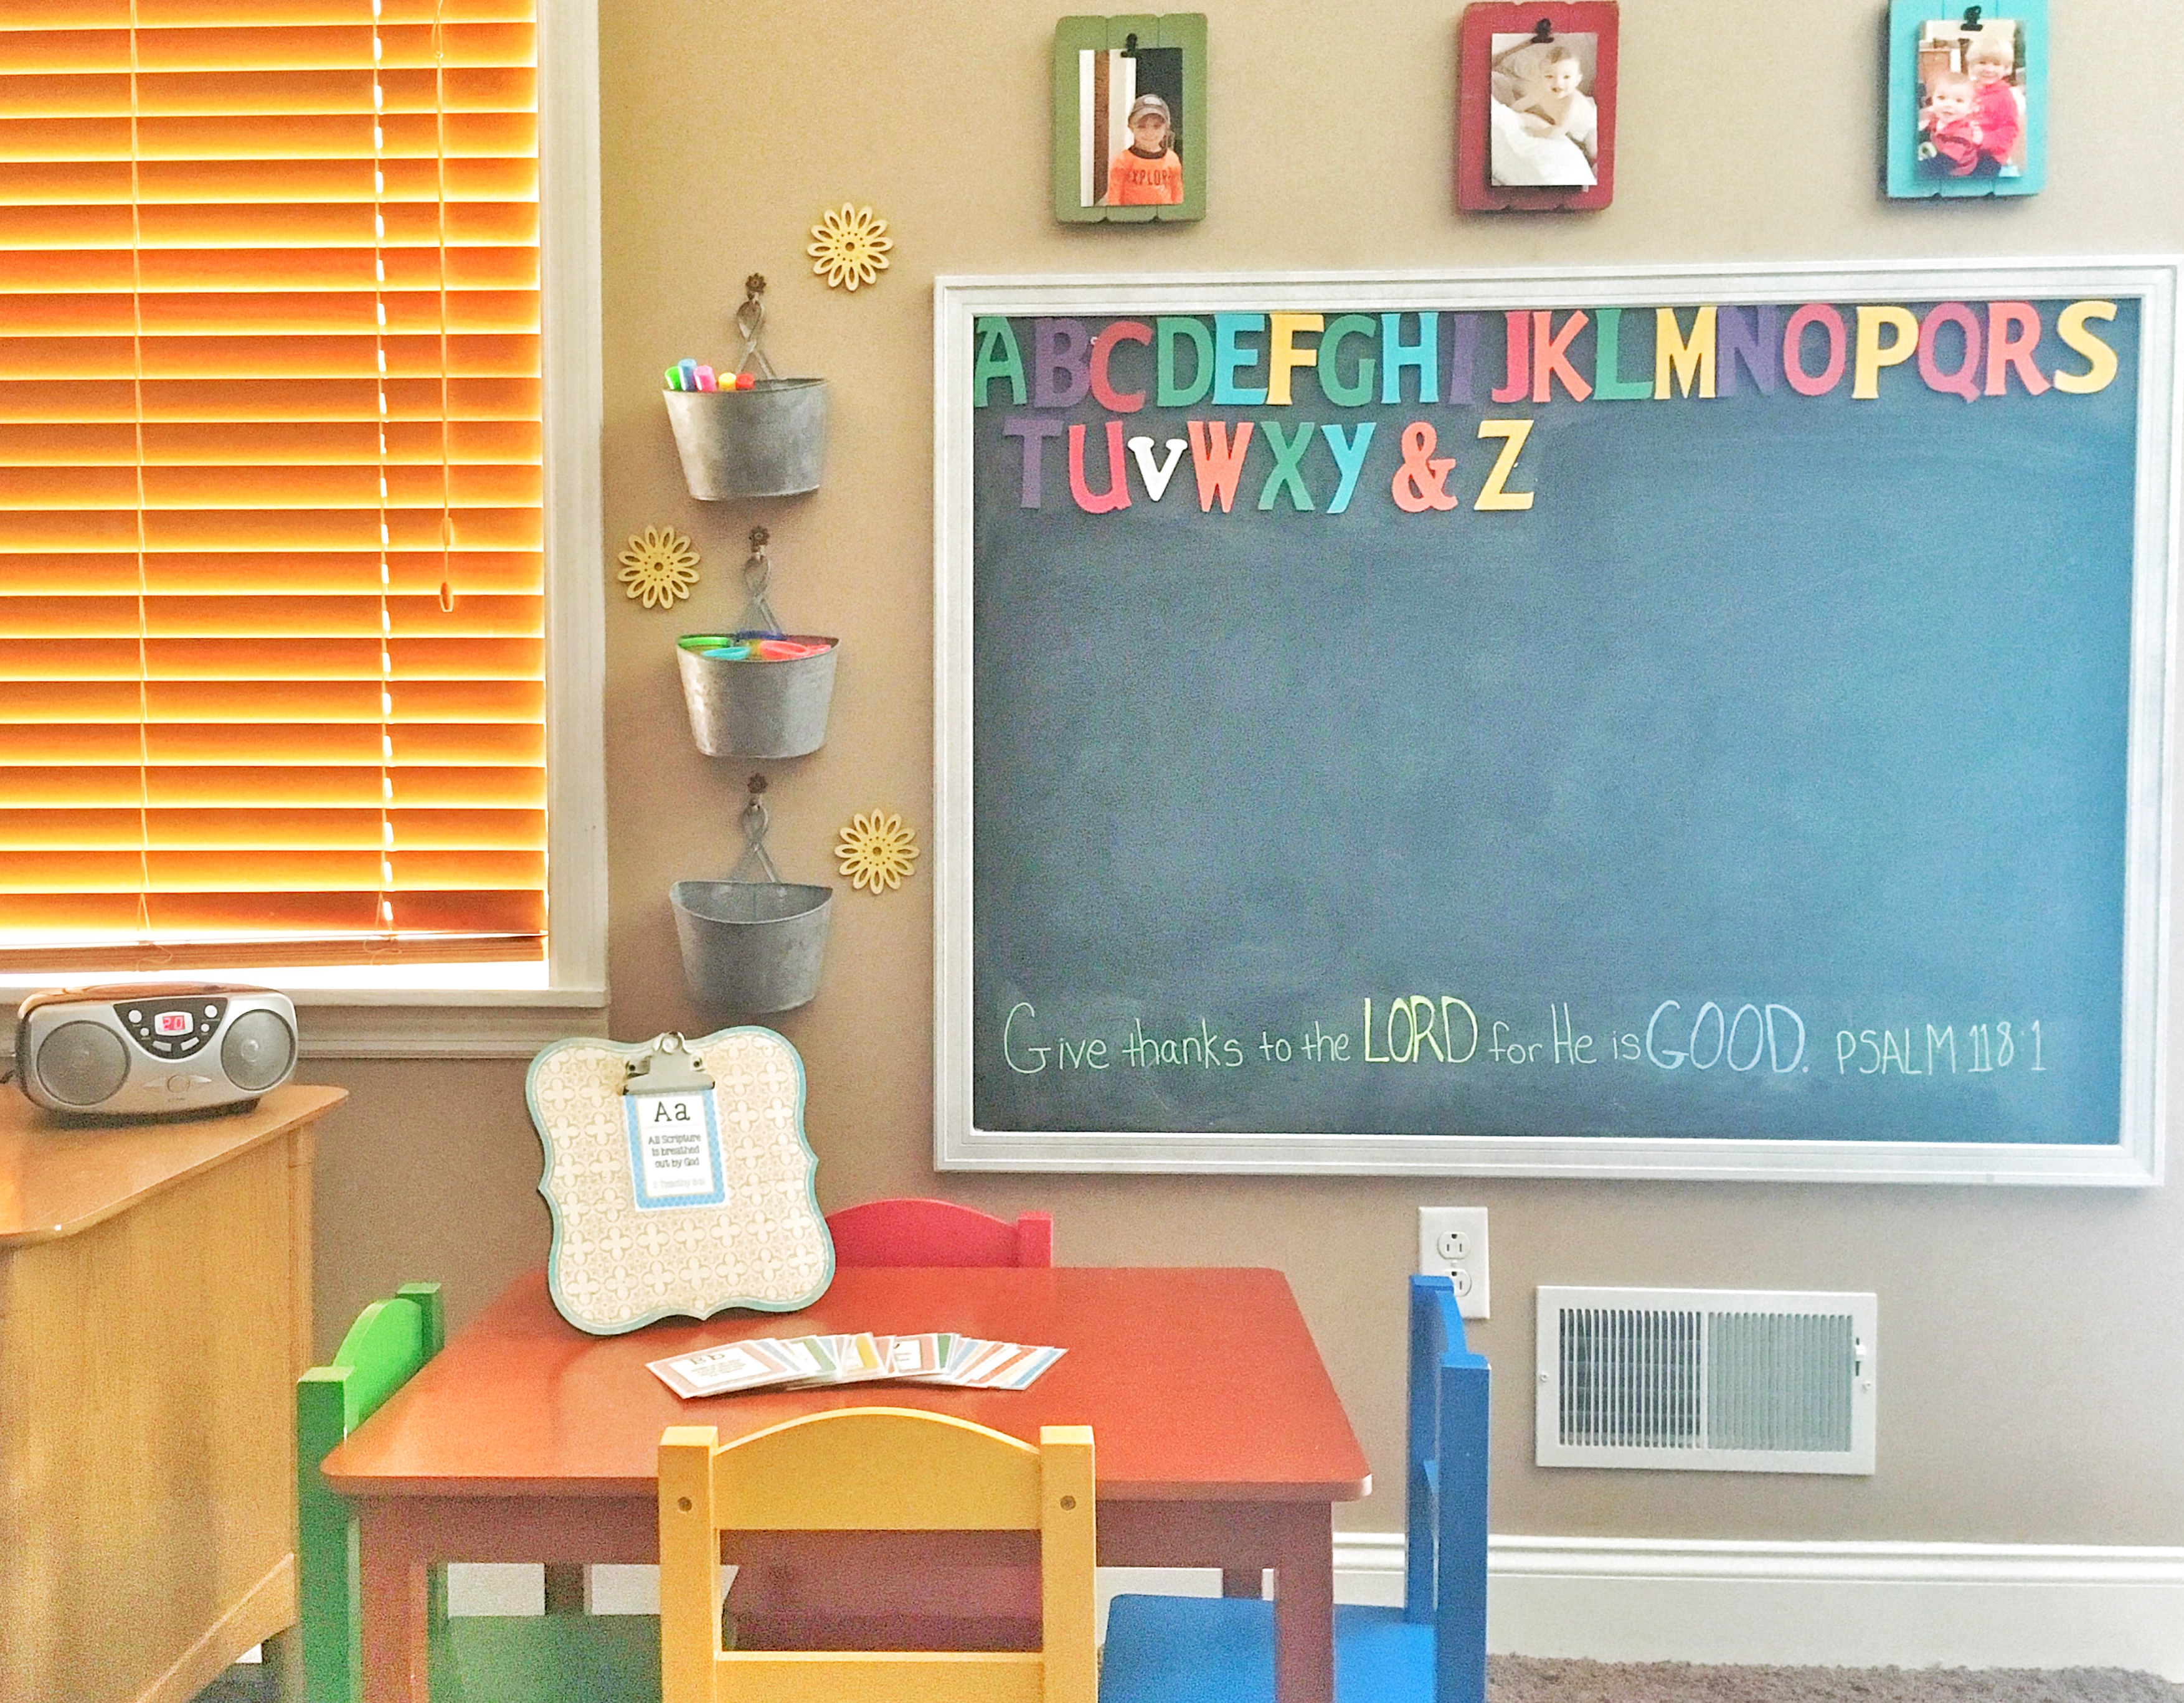
3. Chalkboard for writing and reading our memory verses.

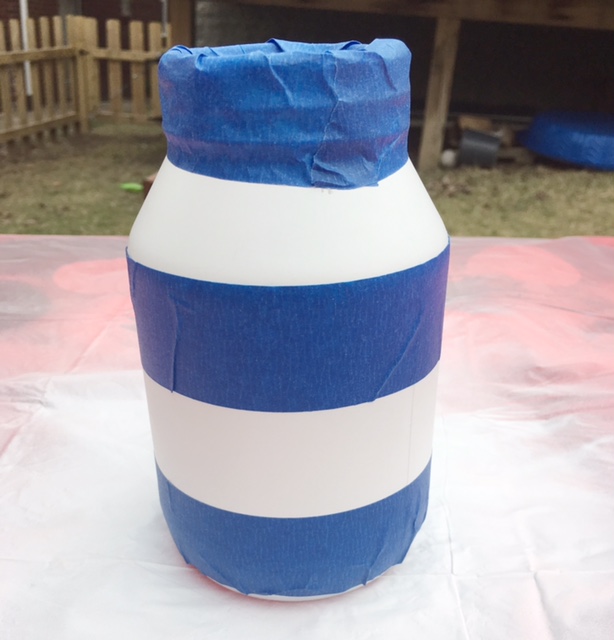
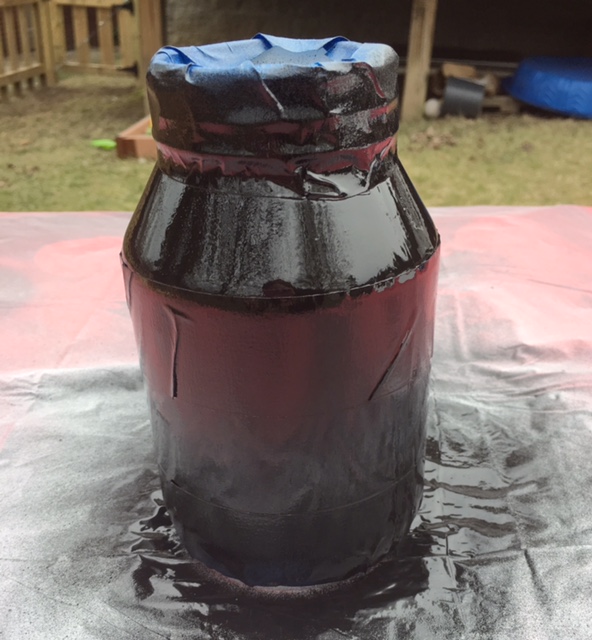
I had plans of a DIY chalkboard wall and luckily I stumbled upon this chalkboard at Hobby Lobby on sale for $40. The tin pales are also from Hobby Lobby. The chalkboard is great for writing out scripture as we recite it. This is helping Timmy identify certain letters and words. I used different colors and sizes for the words so he can remember that yellow says, “LORD” and blue says “GOOD”.

4. Age appropriate devotional!

We went through about 3 or 4 devotionals before finding this one. This one is perfect! It is short, holds his attention, and references life scenarios he can relate to. There is one for girls and one for boys! Get it here!

Teaching Timmy scripture is helping me memorize more scripture too! As a result, I don’t get tired of going over the verses with him. What ideas or resources have you used to teach your little ones about God? I would love more ideas!

Our Home

DIY Nursery Letters

I love the idea of personalizing my babies room by putting their name on the wall! After ALL of the effort that goes into picking the name it should be on display as a reward for the hours of googling and bargaining that took place! 🙂

These DIY Nursery Letters are easy and inexpensive to make. Making your own nursery letters is half the price of ordering custom letters or buying them at the store. The other great thing about these DIY Nursery Letters is you can customize them to match your child’s room and your decorating style.

The most fun part is picking out the scrapbook paper for the DIY Nursery Letters! I like mixing and matching the prints and colors. I’ve bought A  LOT of scrapbook paper over the years (I love to scrapbook!) and the best selection of scrapbook paper is at Hobby Lobby. Trust me, I’ve shopped for scrapbook paper at all the places and Hobby Lobby wins every time!

The Paper Mache Letters are pretty common and can be found at any of the major craft stores. I buy the 8″ letters which are typically $2.99 each. Michael’s and JoAnn Fabric always have coupons so no need to pay full price! Both retailers have a coupon page that you should check before making any purchases. See current Michael’s coupons HERE and JoAnn Fabric coupons HERE. The scrapbook paper ranges from $0.50-$1.50 based on the type you buy. I bought my x-acto knife a while ago and I have mod podge, craft paint, and foam brushes in my craft supplies. The cost of each DIY Nursery Letter ranges from $3.50-$5.00 depending on the paper you choose and coupons. Purchasing these on Etsy will cost double that.

FIY – this project will work with the regular scrapbook paper and the the thick sparkly specialty paper.

Supplies Needed:

  • Scrapbook Paper
  • Paper Mache Letters
  • Craft Paint
  • (2) Foam Brushes
  • X-Acto Knife
  • Mod Podge

Step 1: Lay the letter on top of the paper and trace the paper mache letter with the x-acto knife. Make sure your x-acto knife is sharp. This will lead to a much easier, quicker, and cleaner cut. Repeat this step for each letter.

Step 2: Lay the paper letters on top of the paper mache letters to clean up the edges. When I cut out the letters by tracing the paper mache letters with the x-acto knife it is never perfect. I then use my x-acto knife and scissors to make sure it is going to fit well on the letters. Look for parts that hang over too far, need to be straightened, or cleaned up.

Step 3: Set aside the paper letters and get ready to paint the paper mache letters. Foam brushes work the best for applying the paint. Paint brushes tend to be streaky. The letters will absorb the paint so I recommend two coats, sometimes three coats, to get nice even coverage. Paint into the middle of the letters to ensure no bare spots will show when you mod podge the paper cut outs to the letters.

Step 4: To attach the paper to the letters you are going to use the mod podge. Get a clean foam brush out and use it to mod podge the letters and then quickly attach the paper letters. Once the paper letters are on then mod podge on top of the paper too. This will seal it and give a glossy finish.


These DIY Nursery Letters are light weight and therefore safe to hang over the babies crib. I use command strips to attach these to the wall which is simple and effective.

I loved doing these letters for baby Quinn! You can’t see it in the picture but almost every letter is sparkly. Maybe one day I’ll get to make pink sparkly letters for my house. 🙂

Here are some pictures of other DIY Nursery Letters I’ve made!

Our Home

Painted Mason Jars

We made (Pinterest-inspired) painted mason jar centerpieces for my sister-in-law’s baby shower. These painted mason jars are easy to make and look so good. I am obsessed and continued spray painting all the glass items I had in my house. It was mid-February and the temperature was like 65 degrees so thankfully we were able to do them outside.


These are great for shower centerpieces or home decor. After seeing how great they looked, I ended up making some for around my house. Here are the step by step instructions!

Step 1: Start with any clear glass item.

Step 2: Spray paint your base color. Take your time spray painting. It is best to do several light coats otherwise it will be runny and uneven. Patience! Speaking from experience, be aware of the direction the wind is blowing.

Step 3: Put painters tape on the dry jar to protect the areas you want to keep white. Be sure to run your fingers around all the edges of the tape and press it down to avoid paint running under the tape. Putting the tape on straight can be challenging. It helps if you are working with a jar that has markings to use as a guide. When we did the centerpieces the jars had markings and when I did it myself I used a plain jar. It was much more challenging to get straight lines with the plain glass jar.

Step 4: Spray paint the opposite color. Go easy with the spray paint, put it on light, and move slowly. This is the most delicate part of the project because you don’t want the black paint to run down behind the tape onto the white. Now wait for the black paint to dry.

Step 5: Spray paint all the items you own with this awesome gold color until nap time is over!

Step 6: Gently remove the painters tape and you are done! Looks awesome, right?!

Let me know if you try this painted mason jar project. I want to see how yours come out and your end use for them!

Our Home Slider Posts

DIY – Entryway Coat Hanger & Shelf

Our entryway and living room are getting a makeover! Our front door opens up into our formal living room. I am working on creating a ‘hallway’ to make the entrance way more functional and set apart the living room to be more cozy and comfortable. Stay tuned for the full transformation! Today I am sharing one of the first major pieces of this project.

I have wanted a cute entryway coat hanger & shelf for a long time. Even though we have a hall closet all of our stuff ends up right inside the door on the couch or on the floor. This project is practical but also I love the look of them. I searched for them at various stores and on Etsy and they were super expensive. I decided to try to tackle this project on my own!

I found step by step instructions on Pinterest here. I left the kids with my mom and headed to Lowes. I found the lumber I needed but had no idea how I was supposed to walk around the store and get my other items with a couple of 8 foot pieces of lumber in my arms. I spotted these carts that looked like they were made for this and later realized I had my lumber on the cart incorrectly. It didn’t take long for me to realize I was in over my head on this one!

I did my best to continue finding my supplies. As I wondered around Lowes lost and confused an older man asked, “Do you have any idea what you are doing?”. I smiled and he said, “Watching too much t.v., huh?”…so I guess it was obvious I had no idea what I was doing but I was determined to make this happen!

I took my supplies back to my parents house and ran it all past my dad. I had a few things wrong so we went back out together and got the proper items. At that point, I had my dad interested and thank goodness he was because this project was beyond my carpentry skills. If you read the comments below the instruction page you can see most people had trouble making the cuts on the crown molding. Thankfully my dad was able to do this for me.

unfinished

We ended up choosing crown molding with a more unique design than what’s shown in the instructions. It dressed it up a bit and gave it a more formal look.

fullsizerender_2fullsizerender_3

This is a big heavy piece so make sure you have a plan for where and how to hang it before you go to the trouble to make it. You need to hit studs and you want to do so behind the hooks. Figuring this out was like a SAT math problem…thankfully my husband is good at math. We were able to hit two studs on the first and fifth hook.

fullsizerender_1


fullsizerender-3

I LOVE the way this turned out! It cost about $80 to make…much cheaper than the ones I saw for sell for hundreds of dollars. BONUS: it’s another place in the house to display pictures!

I’ll post more about the entryway and living room makeover as we finish it. We are picking up a new couch tomorrow! For a sneak peak check out my pinterest board.

Mom Life Our Home

Welcome!

Hello Friends! Welcome to a blog about the Rowdy Routch’s. This is not a self proclaimed nickname…this is a name I married into. I haven’t been able to shake it over the last 7 years so it looks like it is going to stick. It started with a nickname my husband was given in college…they started calling him J-Rowdy, Rowdy, Rowdy Routch etc. You know, just guys being guys. The weird part of the story is when my husband decided to get a vanity license plate that says ‘J-Rowdy’…yup it’s true. It’s pretty embarrassing, especially when I have to drive his car. Secretly, I kind of love the corkiness of this but that doesn’t stop me from making fun of him for it every chance I get.

As a result, I have become C-Rowdy; Timmy is T-Rowdy; Charlie is C-Rwody squared…I think you get the point. 🙂 We have a few groupies who are self proclaimed Rowdy’s as well.

I hope you enjoy following along as I share our experiences raising our boys and the fun home decor and DIY stuff that I do with my minimal spare time!