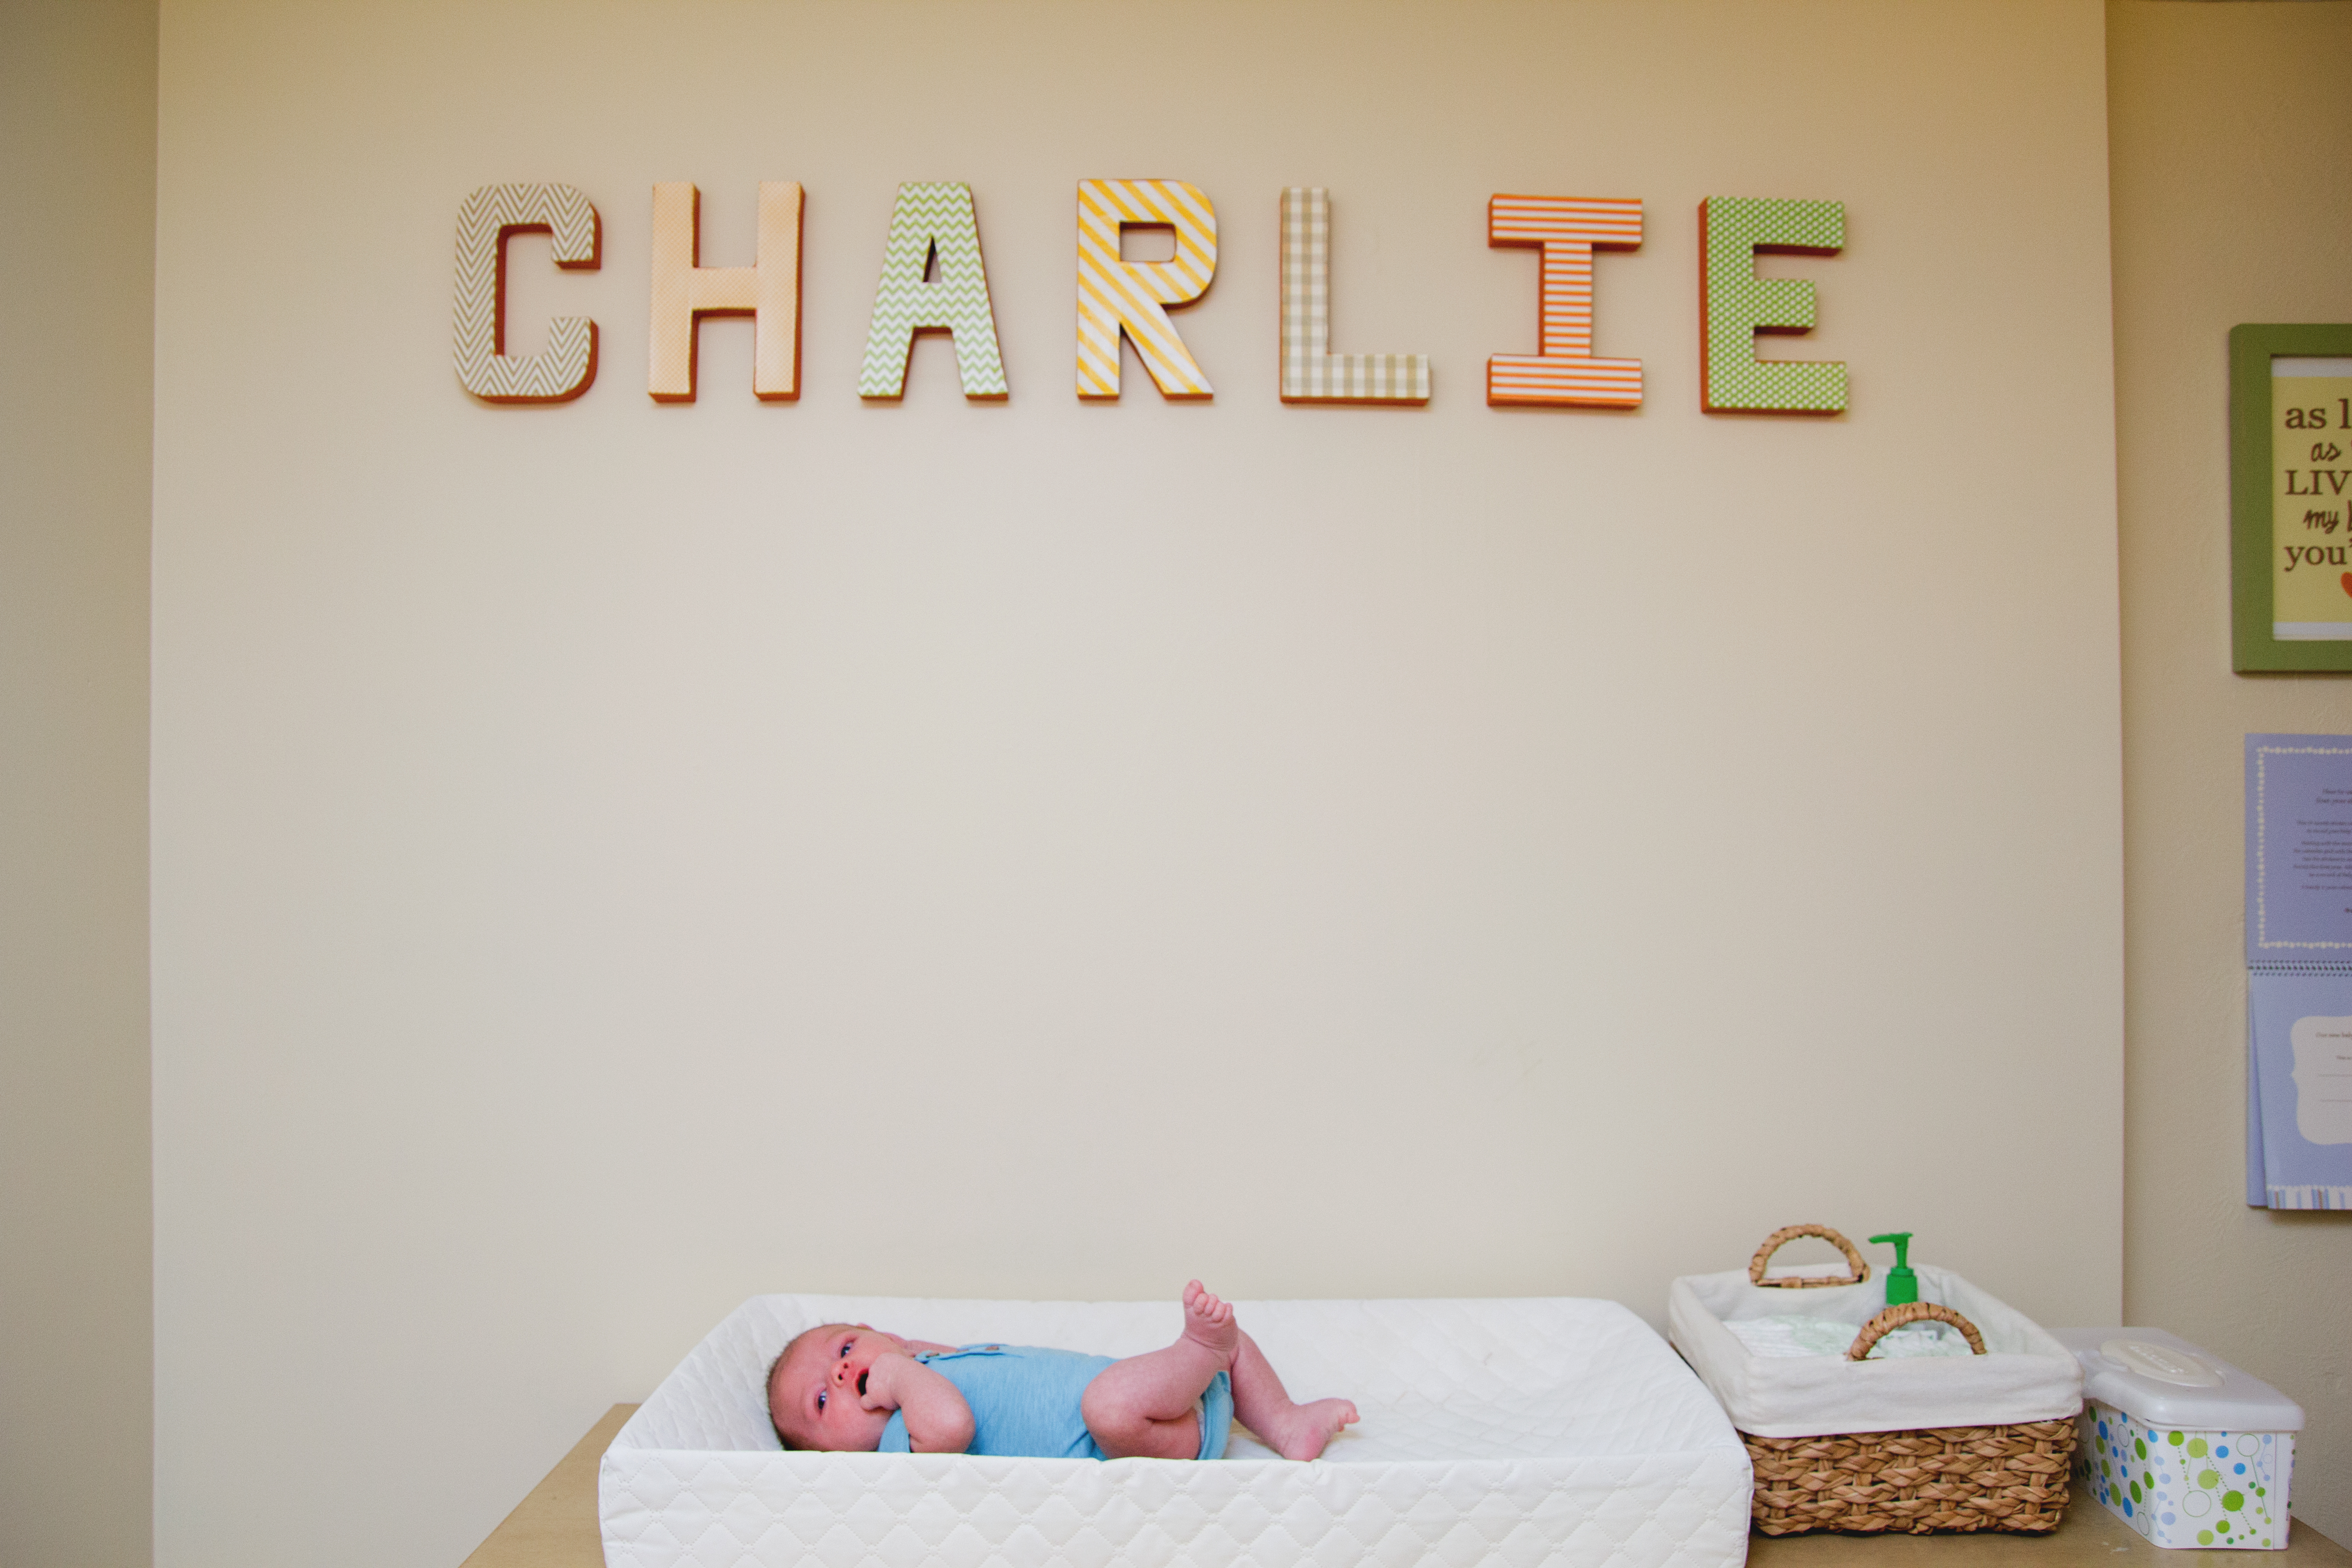
I love the idea of personalizing my babies room by putting their name on the wall! After ALL of the effort that goes into picking the name it should be on display as a reward for the hours of googling and bargaining that took place! 🙂
These DIY Nursery Letters are easy and inexpensive to make. Making your own nursery letters is half the price of ordering custom letters or buying them at the store. The other great thing about these DIY Nursery Letters is you can customize them to match your child’s room and your decorating style.
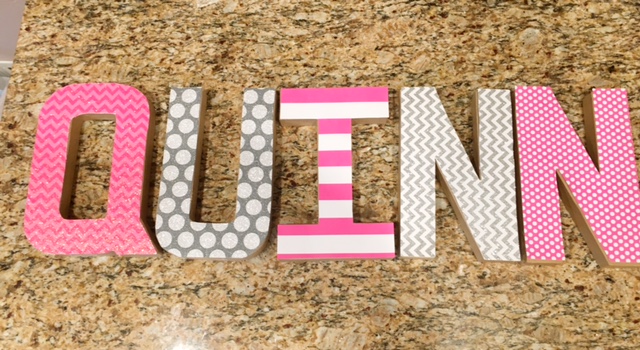
The most fun part is picking out the scrapbook paper for the DIY Nursery Letters! I like mixing and matching the prints and colors. I’ve bought A LOT of scrapbook paper over the years (I love to scrapbook!) and the best selection of scrapbook paper is at Hobby Lobby. Trust me, I’ve shopped for scrapbook paper at all the places and Hobby Lobby wins every time!
The Paper Mache Letters are pretty common and can be found at any of the major craft stores. I buy the 8″ letters which are typically $2.99 each. Michael’s and JoAnn Fabric always have coupons so no need to pay full price! Both retailers have a coupon page that you should check before making any purchases. See current Michael’s coupons HERE and JoAnn Fabric coupons HERE. The scrapbook paper ranges from $0.50-$1.50 based on the type you buy. I bought my x-acto knife a while ago and I have mod podge, craft paint, and foam brushes in my craft supplies. The cost of each DIY Nursery Letter ranges from $3.50-$5.00 depending on the paper you choose and coupons. Purchasing these on Etsy will cost double that.
FIY – this project will work with the regular scrapbook paper and the the thick sparkly specialty paper.
Supplies Needed:
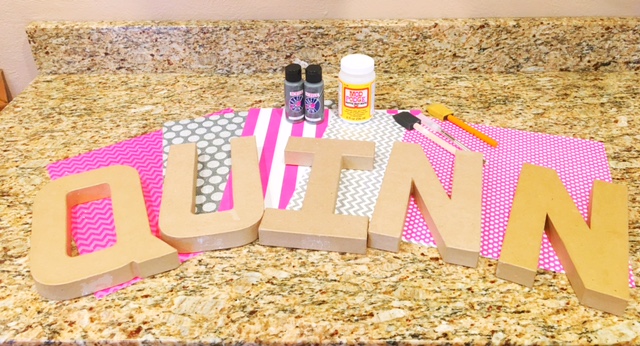
- Scrapbook Paper
- Paper Mache Letters
- Craft Paint
- (2) Foam Brushes
- X-Acto Knife
- Mod Podge
Step 1: Lay the letter on top of the paper and trace the paper mache letter with the x-acto knife. Make sure your x-acto knife is sharp. This will lead to a much easier, quicker, and cleaner cut. Repeat this step for each letter.
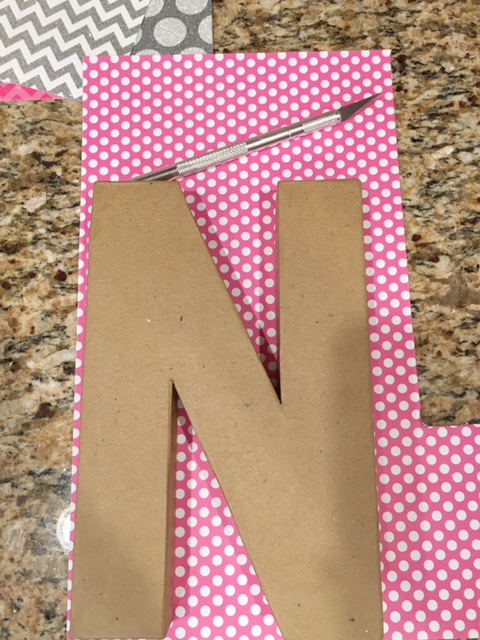
Step 2: Lay the paper letters on top of the paper mache letters to clean up the edges. When I cut out the letters by tracing the paper mache letters with the x-acto knife it is never perfect. I then use my x-acto knife and scissors to make sure it is going to fit well on the letters. Look for parts that hang over too far, need to be straightened, or cleaned up.
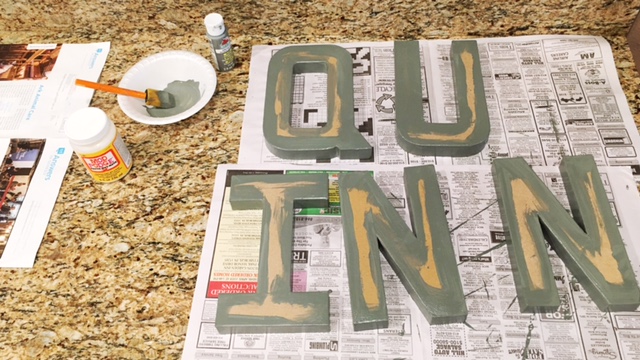
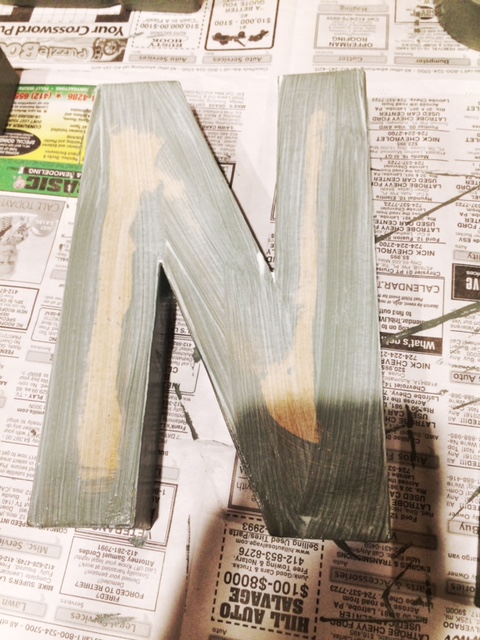
Step 3: Set aside the paper letters and get ready to paint the paper mache letters. Foam brushes work the best for applying the paint. Paint brushes tend to be streaky. The letters will absorb the paint so I recommend two coats, sometimes three coats, to get nice even coverage. Paint into the middle of the letters to ensure no bare spots will show when you mod podge the paper cut outs to the letters.
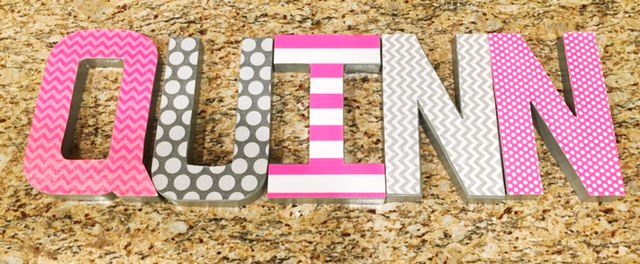
Step 4: To attach the paper to the letters you are going to use the mod podge. Get a clean foam brush out and use it to mod podge the letters and then quickly attach the paper letters. Once the paper letters are on then mod podge on top of the paper too. This will seal it and give a glossy finish.
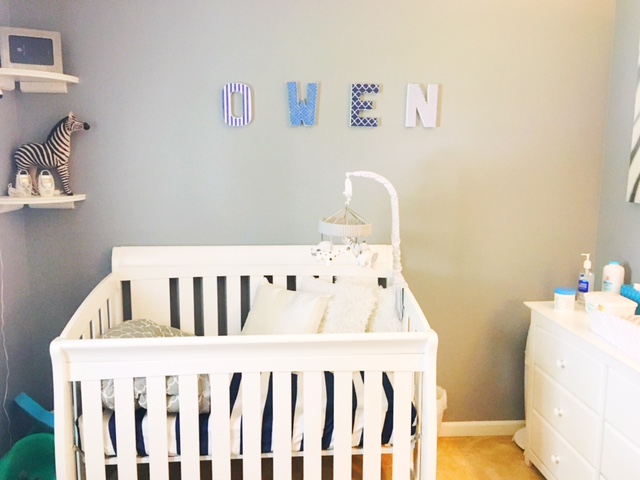
These DIY Nursery Letters are light weight and therefore safe to hang over the babies crib. I use command strips to attach these to the wall which is simple and effective.
I loved doing these letters for baby Quinn! You can’t see it in the picture but almost every letter is sparkly. Maybe one day I’ll get to make pink sparkly letters for my house. 🙂
Here are some pictures of other DIY Nursery Letters I’ve made!