All for Joomla All for Webmasters
Mom Life

Timmy’s Dinosaur Themed Birthday Party

Today I am sharing all the details of Timmy’s Dinosaur Themed Birthday Party. It was so fun to plan and he had such a special day. I’m thankful to our friends and family who came and loved on him for his birthday. Check out this video of his Dinosaur Themed Party!

This is Charlie’s year for a big birthday party since he is turning one this summer. Timmy’s birthday rolled around and I thought it would be fun to have a few of his favorite little friends over to play and celebrate with him. He really wanted a Dinosaur birthday cake which turned this into a themed playdate. Well I couldn’t stop there…I found myself on Oriental Trading with a cart full of dinosaur themed party stuff. Then I started talking menu ideas with my mom and she loves a themed party even more than me, one thing led to another, and we ended up with a full blown birthday party. The guest list remained small and we had a great time celebrating!

I ordered all the party supplies from Oriental Trading. They have tons of cute stuff for a dinosaur themed party. My only complaint about Oriental Trading is they run minimal promotions. I’m on the email list and I’ve been watching their email promotions over the last few months. The best you can hope for is free shipping and once in a blue moon there is a $10 off coupon.
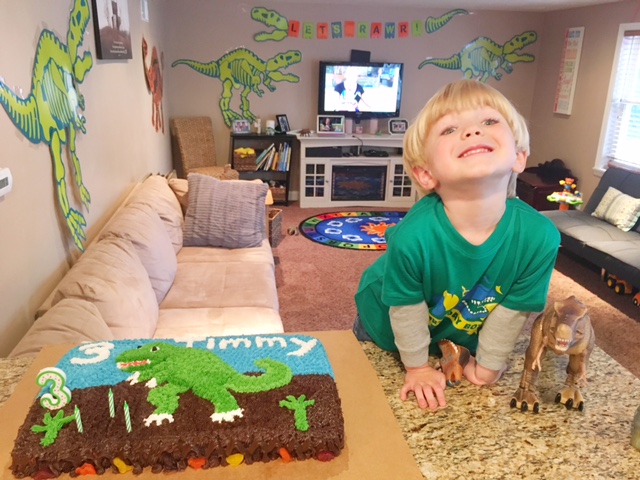
Timmy loved the large cardboard dinosaurs that we put all over the house. He insisted we leave them up. They are heavy so they eventually fell, packing tape didn’t cut it.

Here’s my patient husband blowing up inflatable dinosaurs at 1 am the night before the party.

Party hats, sticker sheets, and cute baby Chars! 🙂

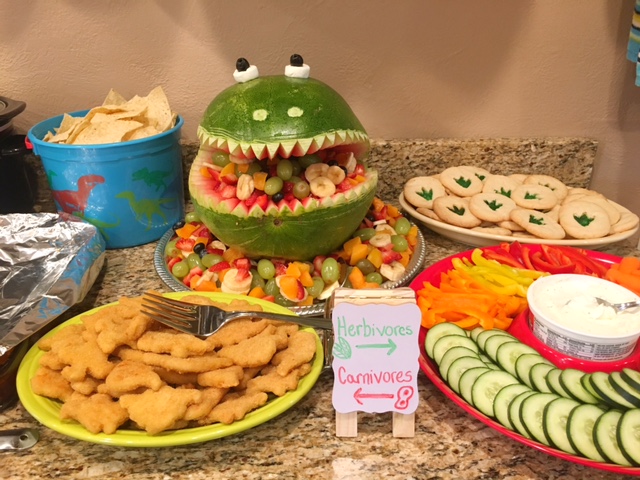
The menu consisted of pulled pork sandwiches, buffalo chicken dip, and dinosaur chicken nuggets for the carnivores. For the herbivores we had fruit, veggies, dinosaur fruit snacks, and dinosaur footprint cookies. My mom made the watermelon and it turned out great. She used marshmallows and olives for the eyes. She also made the cake! She was this creative long before Pinterest ever existed.

I made the dinosaur footprint cookies. On pinterest all the posts I saw said to put the dinosaur footprint in the raw cookie dough and then simply bake them. That did not work for me. When the dough was rising as they baked the footprint disappeared. I ended up putting the footprint in the cookie as soon as they came out of the oven. That worked much better. I used an actual dinosaur toy to make the footprint and then filled it in using a paintbrush and green food coloring.
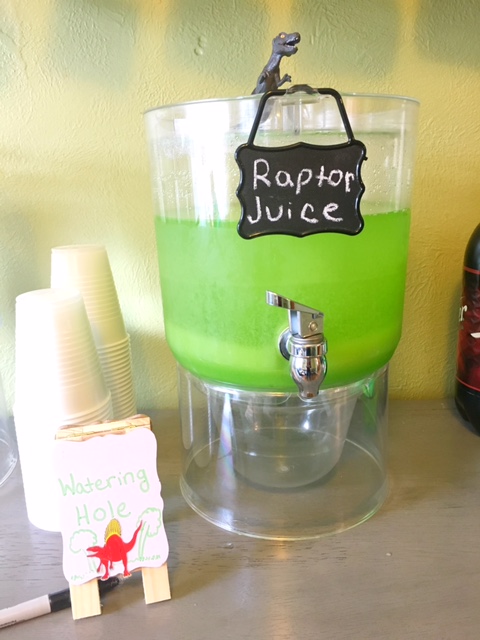
I found a recipe on Pinterest for Raptor Juice that called for sprite, pineapple juice, lemonade, and a lemon-lime kool aid packet. I went to three stores looking for a lemon-lime kool aid packet and I couldn’t find it anywhere. I substituted the kool aid packet with a pack of lime jello. As expected, this punch was tart which I did not like but Timmy and Jordan loved it. I loved the color of this punch and it looked cute on the drink bar. I warned all of the parents that there was an entire pack of jello in it. #sugaroverload
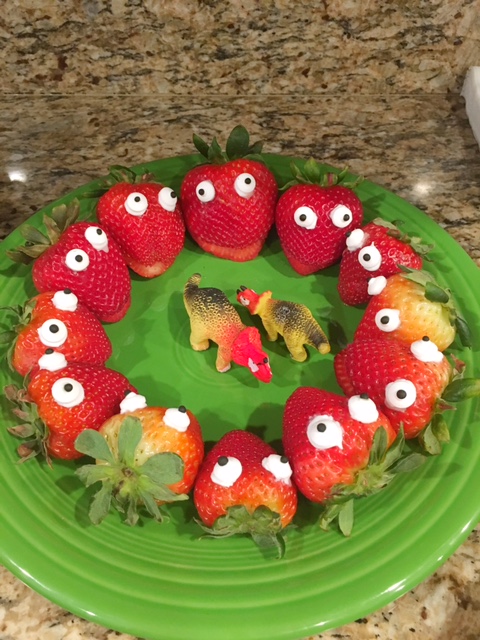
These strawberries were quick to make and cute for the kids. They made me giggle because I’m not sure they look like dinosaurs?! I’m not really sure what they look like?! Timmy asked me what kind of dinosaur they were…we decided on a triceratops?? Haha.
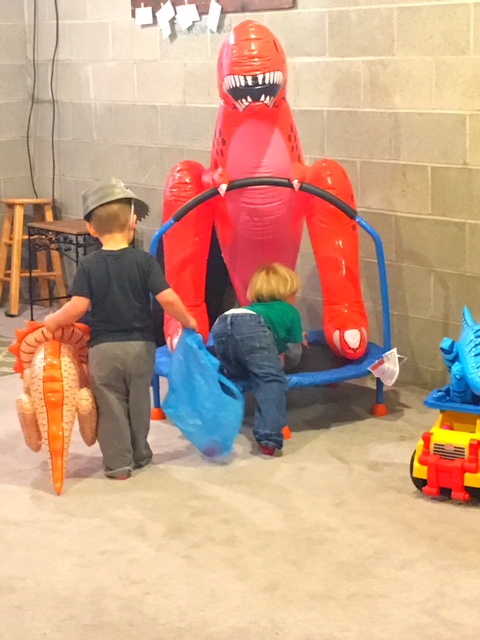
I ordered a box of dinosaur eggs from Oriental Trading to have an egg hunt for the kids. Jordan and I set up the inflatable dinosaurs all around the back area of our basement and hid eggs for the kids to find. We had the bubble machine going and the kids loved it. We let them go wild down there for a little while and burn off some energy. The large red t-rex was a favorite!

Side note: if you have little ones and you don’t have a bubble machine, you need to get one! They are the best thing ever. I can’t believe I ever stood there with the bubble wand, becoming light headed, as I failed at blowing bubbles for the boys. It makes everything more fun. I get it out all the time. I recommend this one from amazon. I got a huge tub of bubbles from Five Below for $3.
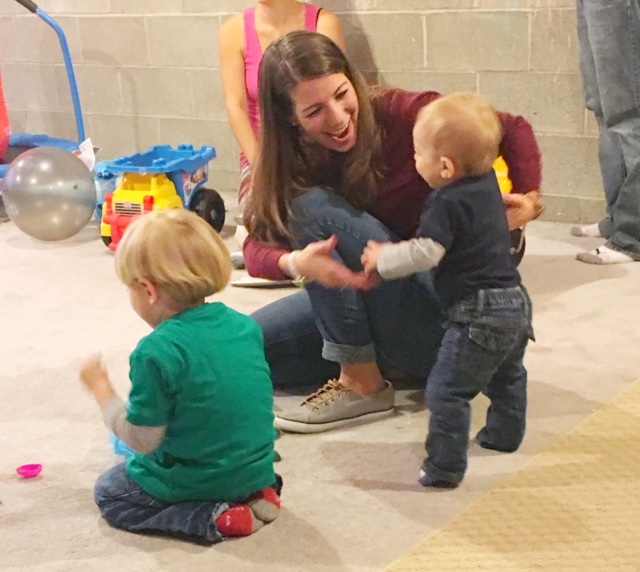
Here’s Charlie showing off his new trick (WALKING) at the party!

He only ate the icing. No fork required for that!

Little brother looking adorable in his dinosaur onesie.

And last but not least, the sweetest and cutest Dad ever. <3

Our Home

DIY Nursery Letters

I love the idea of personalizing my babies room by putting their name on the wall! After ALL of the effort that goes into picking the name it should be on display as a reward for the hours of googling and bargaining that took place! 🙂

These DIY Nursery Letters are easy and inexpensive to make. Making your own nursery letters is half the price of ordering custom letters or buying them at the store. The other great thing about these DIY Nursery Letters is you can customize them to match your child’s room and your decorating style.

The most fun part is picking out the scrapbook paper for the DIY Nursery Letters! I like mixing and matching the prints and colors. I’ve bought A  LOT of scrapbook paper over the years (I love to scrapbook!) and the best selection of scrapbook paper is at Hobby Lobby. Trust me, I’ve shopped for scrapbook paper at all the places and Hobby Lobby wins every time!

The Paper Mache Letters are pretty common and can be found at any of the major craft stores. I buy the 8″ letters which are typically $2.99 each. Michael’s and JoAnn Fabric always have coupons so no need to pay full price! Both retailers have a coupon page that you should check before making any purchases. See current Michael’s coupons HERE and JoAnn Fabric coupons HERE. The scrapbook paper ranges from $0.50-$1.50 based on the type you buy. I bought my x-acto knife a while ago and I have mod podge, craft paint, and foam brushes in my craft supplies. The cost of each DIY Nursery Letter ranges from $3.50-$5.00 depending on the paper you choose and coupons. Purchasing these on Etsy will cost double that.

FIY – this project will work with the regular scrapbook paper and the the thick sparkly specialty paper.

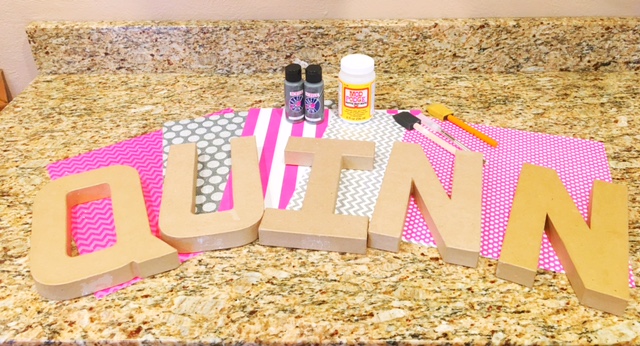
Supplies Needed:

  • Scrapbook Paper
  • Paper Mache Letters
  • Craft Paint
  • (2) Foam Brushes
  • X-Acto Knife
  • Mod Podge

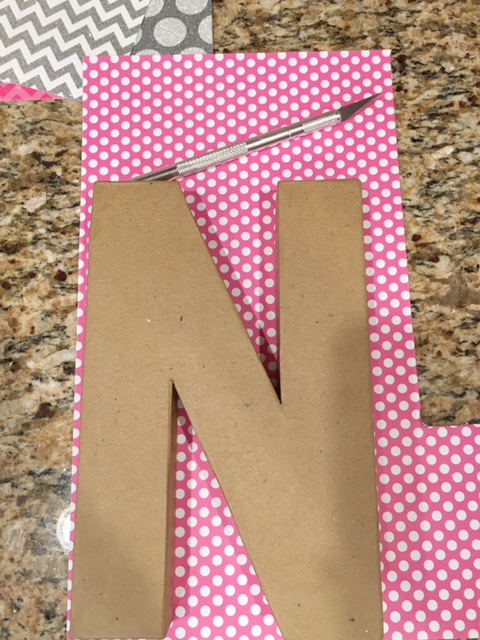
Step 1: Lay the letter on top of the paper and trace the paper mache letter with the x-acto knife. Make sure your x-acto knife is sharp. This will lead to a much easier, quicker, and cleaner cut. Repeat this step for each letter.

Step 2: Lay the paper letters on top of the paper mache letters to clean up the edges. When I cut out the letters by tracing the paper mache letters with the x-acto knife it is never perfect. I then use my x-acto knife and scissors to make sure it is going to fit well on the letters. Look for parts that hang over too far, need to be straightened, or cleaned up.

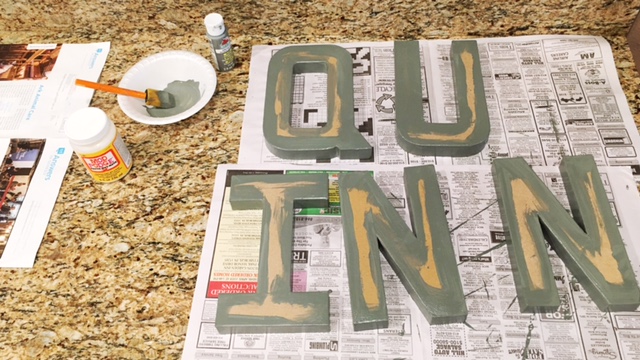
Step 3: Set aside the paper letters and get ready to paint the paper mache letters. Foam brushes work the best for applying the paint. Paint brushes tend to be streaky. The letters will absorb the paint so I recommend two coats, sometimes three coats, to get nice even coverage. Paint into the middle of the letters to ensure no bare spots will show when you mod podge the paper cut outs to the letters.

Step 4: To attach the paper to the letters you are going to use the mod podge. Get a clean foam brush out and use it to mod podge the letters and then quickly attach the paper letters. Once the paper letters are on then mod podge on top of the paper too. This will seal it and give a glossy finish.


These DIY Nursery Letters are light weight and therefore safe to hang over the babies crib. I use command strips to attach these to the wall which is simple and effective.

I loved doing these letters for baby Quinn! You can’t see it in the picture but almost every letter is sparkly. Maybe one day I’ll get to make pink sparkly letters for my house. 🙂

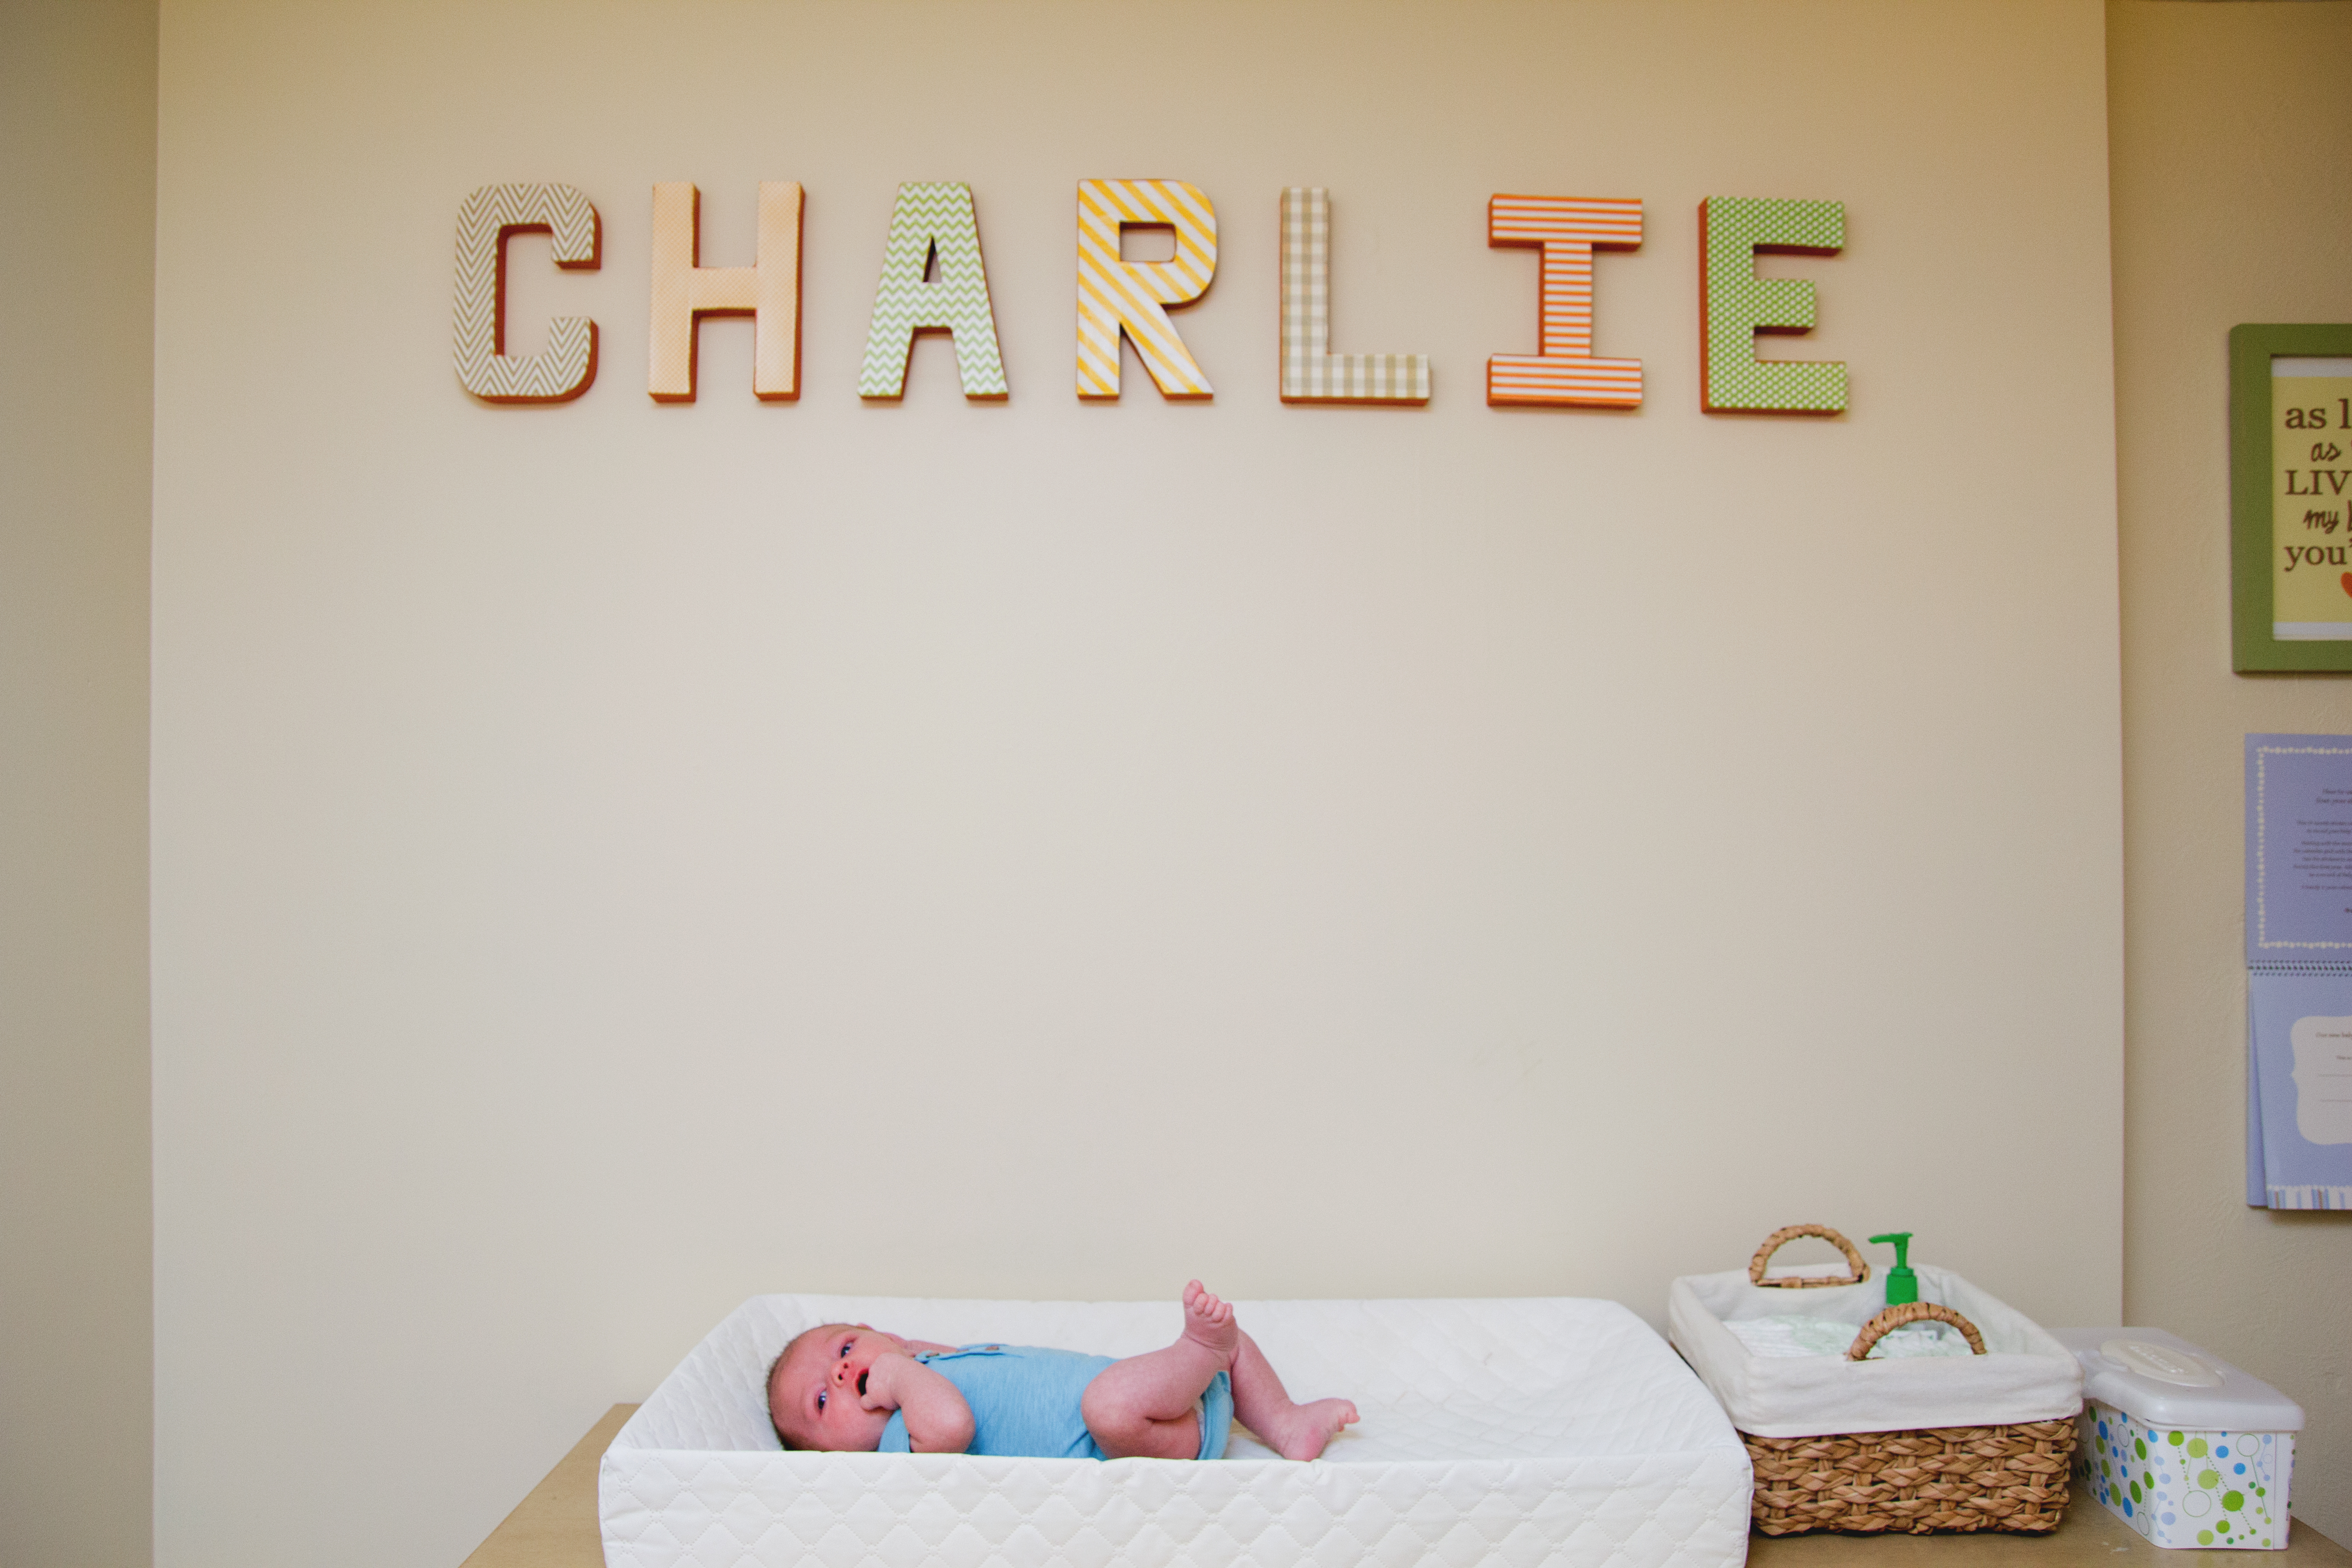
Here are some pictures of other DIY Nursery Letters I’ve made!

Mom Life

Timmy & Charlie: Feb-March 2017

Here’s an update on the Rowdy Routch’s and adventures with Timmy and Charlie. My goal is to write a post like this every month or two so I can look back on how the boys grew.

February was full of days that reached 60+ degrees. It was such a treat and a reminder that it is much easier to entertain little ones when it is nice outside. We snuck in a few days at the park and sometime in the backyard playing in the sandbox and on the swing set.

Jordan worked many long hours during busy season coupled with travel. We missed him a lot and had our bedtime routine via FaceTime many of the evenings. This picture of him at the park with the boys was taken during the only 2 hours we spent with him that week. We are glad he is slowing down at work and home for dinner lately. We are thankful for his work ethic…he’s always hustling whether at home or at the office. He’s the energizer bunny!

Charlie is growing so fast. In the last 2 months he has transitioned from needing to be held by mommy constantly to a little explorer who is gaining independence and curiosity. I used to long for a few minutes to put him down and now I find myself calling for him to come back in the room. Timmy started walking at 9 months and Charlie will be 9 months soon. I realized that Charlie could be running around the house in a few short months. When Timmy started walking the moments of holding him on my lap or hip became few and far between.

I decided about a month ago that everyday I was going to rock Charlie to sleep for his afternoon nap. I really want to be intentional about enjoying this stage. With the second child I can appreciate how quickly it comes and goes. Charlie has been getting a lot of teeth lately. He now has three teeth on top and two on the bottom.

Timmy will be 3 years old in one month. He is becoming his own little person. One of my favorite things lately is holding a conversation with him. I like asking him questions and getting his opinion on things. He can call someone on the phone and chat with them independently without me translating or mediating too much. It is cool to move beyond simple exchanges based on basic needs and encouraging him to share his thoughts and feelings about situations. He still loves all things animals and dinosaurs. We officially quit potty training and will try again this summer. He was getting frustrated and wasn’t making progress. He is really into surprises lately and it doesn’t take much to get him ultra excited. I take every opportunity to create these magical moments over simple things like stickers, ice-cream, or a new book. I love how their excitement level can go from 1 to 10 over simple things, it is one of the best parts about having little ones!

Now that Charlie is a speed crawler and able to maneuver around the room (holding onto furniture) Timmy is anxious for him to become a playmate. Some of Timmy’s favorite phrases lately are, ‘Chase me Charlie!’; ‘Charlie lets explore!’; ‘Charlie come under the table with me.’ It is so cute and I love watching their brotherly bond grow.

That’s the latest on my little loves. The next update may include Timmy’s 3rd birthday and Charlie walking?!?

Our Home

Painted Mason Jars

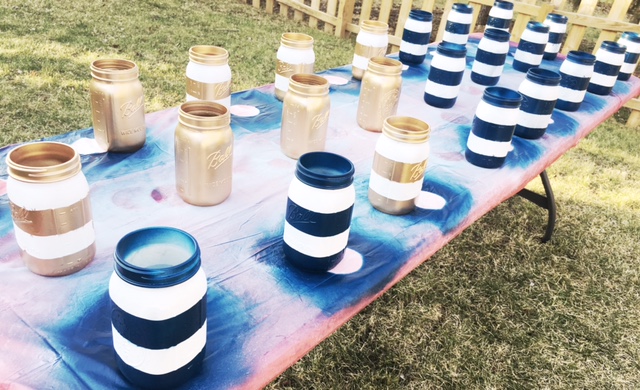
We made (Pinterest-inspired) painted mason jar centerpieces for my sister-in-law’s baby shower. These painted mason jars are easy to make and look so good. I am obsessed and continued spray painting all the glass items I had in my house. It was mid-February and the temperature was like 65 degrees so thankfully we were able to do them outside.


These are great for shower centerpieces or home decor. After seeing how great they looked, I ended up making some for around my house. Here are the step by step instructions!

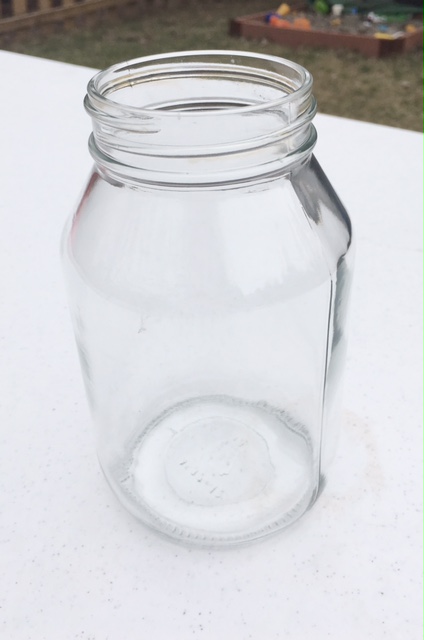
Step 1: Start with any clear glass item.

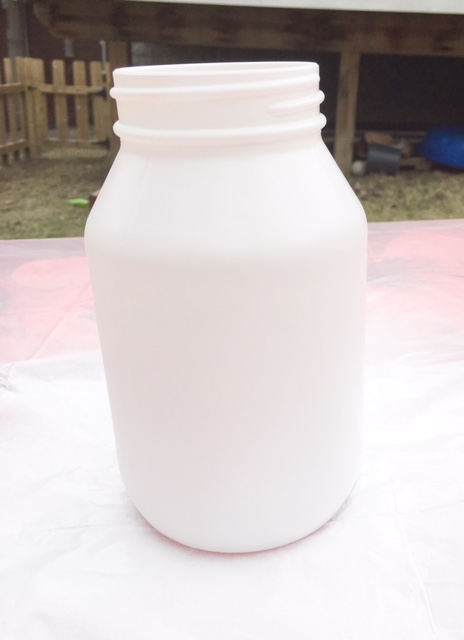
Step 2: Spray paint your base color. Take your time spray painting. It is best to do several light coats otherwise it will be runny and uneven. Patience! Speaking from experience, be aware of the direction the wind is blowing.

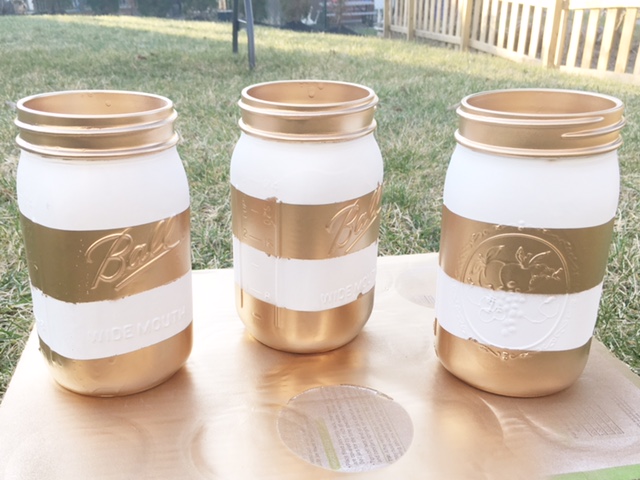
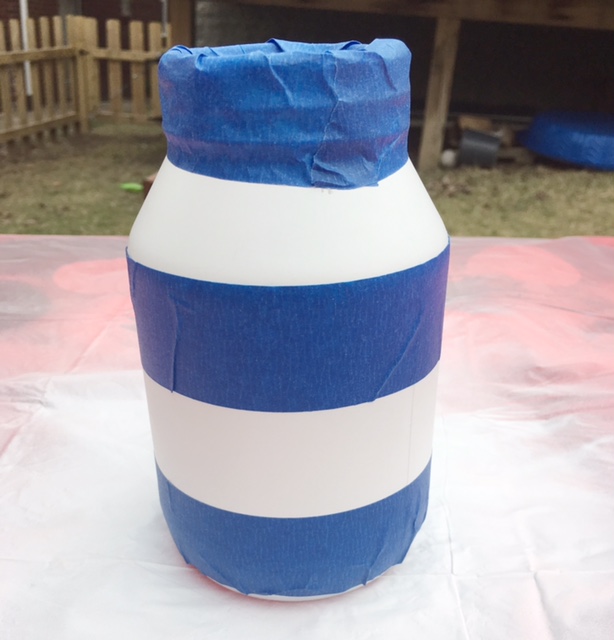
Step 3: Put painters tape on the dry jar to protect the areas you want to keep white. Be sure to run your fingers around all the edges of the tape and press it down to avoid paint running under the tape. Putting the tape on straight can be challenging. It helps if you are working with a jar that has markings to use as a guide. When we did the centerpieces the jars had markings and when I did it myself I used a plain jar. It was much more challenging to get straight lines with the plain glass jar.

Step 4: Spray paint the opposite color. Go easy with the spray paint, put it on light, and move slowly. This is the most delicate part of the project because you don’t want the black paint to run down behind the tape onto the white. Now wait for the black paint to dry.

Step 5: Spray paint all the items you own with this awesome gold color until nap time is over!

Step 6: Gently remove the painters tape and you are done! Looks awesome, right?!

Let me know if you try this painted mason jar project. I want to see how yours come out and your end use for them!

Mom Life

Stay-At-Home Mom Hopeful: 4 Steps to Consider

After our second child was born I decided to quit my job to be a stay-at-home mom. Since then several women have told me they have hopes of being a Stay-At-Home mom one day and wanted to know how we were able to make it work financially. In hopes of empowering other families with the freedom to make this choice I am sharing some of the steps we took.

So here it is! Four steps to consider that will help you prepare for being a stay-at-home mom one day. There are certainly many ways to make this happen but here are the steps we took. I hope it helps!

1. Keep your options open.

Motherhood is such a wonderful and exhausting experience. As much as you try to anticipate what it will be like, there is no way to predict how you will feel once you become a mother. Keeping this in mind, the best thing you can do is give yourself options. Continue working full time, working part time, or be a stay-at-home mom
it is hard to predict what the right balance will be for your family until you are living it! My best advice is to put yourself in a position that will make all three a realistic option. This will give you freedom to be the type of mother you want to be and not feel trapped.

Two years before getting pregnant with our first child I intentionally took a job with a small company and planned on making myself a valuable employee to later ask for a more flexible schedule. After having our first son I was able to go back three days a week. Options!

2. Don’t increase your lifestyle with your increased income.

Hopefully as the years pass you and your spouse are in careers that will continue to grow in opportunity and pay. Most people who make more money, spend more money. It’s hard to fight that natural inclination. This vicious cycle stops you from getting ahead or creating a buffer for a lifestyle change later on such as cutting back on hours or going down to one income.

When we were shopping for our first home we mocked up a budget based on my husbands salary only and bought a house we could afford on his salary. We did this to leave room in our finances for me to stop working if I wanted to and if not we would get ahead on paying off our mortgage. That’s a win-win! We also made the commitment to not have car payments. We have an ongoing savings account for a car because we plan to always buy our vehicles with cash. When it was time to buy a kid friendly vehicle we bought a used SUV and paid cash. Our second vehicle is a 2006 Chevy cobalt that has been paid off for like 8 years.

3. Pay off debt ASAP!

It is hard to reach any level of financial freedom until you pay off your debt. The best thing you can do to reach financial freedom for your family is to pay off debt as quickly as possible. We paid off over $100k in debt in 5 years. Before we had children we had two full time incomes and we put every extra penny down on debt. We held our expenses steady for 5 years as our salaries increased. We kept only the bare minimum in the bank for emergencies. Crush that debt immediately and everything will be easier sooner. If you don’t have kids yet you should use this time to pay off credit cards, student loans, car loans etc. This will give you options later. If you already have kids, start now!

4. Get on the same page and stay there. 

Obviously, it is important for you and your spouse to be on the same page when it comes to planning for your future. There needs to be a commitment and dedication from both spouses to create a plan and stick to it. This is not something you can do on your own or figure out when you get there. If you want to have a smooth transition that will not send your family into financial distress, now is the time to get on the same page. It would also be unfair to blindside your partner down the road with your desire to be a stay-at-home mom when your lifestyle is not set up for it. Stress city!

Jordan and I always hoped this would be an option one day. We made it a part of our plan every step of the way. BUT I always told him that we would do the best we could and if it didn’t work I would gladly do what was best for our family. Keep in mind that you need to be gracious towards each other without placing blame or pressure on each other.

People often ask me if I miss working, especially because I loved my job and I was really nervous to give it up. Surprisingly, I do not miss it at all. I feel so free to make my family my first priority and I don’t have to worry about checking my email or stressing over an upcoming meeting. Every now and then when I’m taking my kids to the park or to the museum in the middle of the week I feel guilty like I am playing hooky!

Being a stay-at-home mom is challenging because it forces me to be more selfless and humble. I serve others all day with my needs coming last. It isn’t easy but I consider it a great blessing. It is yet another way that God is molding me and shaping me to be more like Him.

And guys, I would be remiss if I didn’t mention that my husband has been planning for this long before I was. When he was studying in school and choosing his career path, he didn’t base it on his personal interests, but on a steady career path that would provide for his future wife and kids. He has been putting us above himself before he even knew us. Thank you God for this selfless man!

Staying home with our kids has been a huge blessing for our family and if you desire to be a stay-at-home mom I hope you are able to do it one day too!

Faith

Serving + Young Kids

A friend of mine recently shared this video with me. Francis Chan is challenging parents to keep serving while raising children. He explains that most young adults stop serving after starting a family. It is not hard to figure out why…everything becomes more difficult with children…I mean everything! Things such as showering, going to the grocery store, and doing the dishes let alone serving outside of the home.

I hear what he is saying and our culture is too driven by comfort. Francis Chan is always good about challenging that, which I appreciate. My take away from this video is the only way for your children to fully experience God is to let them be exposed fully to the way you live out your faith. There is no acceptable excuse to “pause” any part of your life for Christ. This certainly looks different for everyone. Not everyone is called to travel the world sharing the gospel. Simply, don’t stop living out your calling for Christ as your phase of life changes.

Sometimes you wake your baby at 5 am to drop the mission team at the airport!

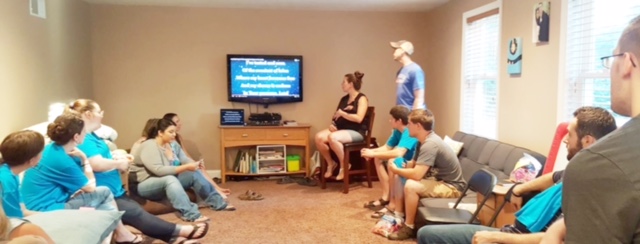
We lead the young adult group at our church which is certainly our calling and our passion. When I was pregnant with Timmy one of the pastors of our church had us over for dinner and encouraged us to keep serving after having our baby. He and his wife shared with us creative ways to continue doing ministry while raising a family. They obviously knew it would get more difficult after kids and as a result many people quit.

Francis Chan talks about “safety”, “protection”, and “gated communities”. I don’t know how much of it is about safety as much as it is about running low on sleep, not being able to find a sitter, and not having enough hands to cross the parking lot with a baby, toddler, and a donation for the food drive. Needless to say, I get it! 😉

I think I was the only person marching in the St. Patty’s Day parade with a stroller. I showed up late and hopped in half way through. Making it happen! lol.

As our family grows and we continue to do ministry the sacrifice necessary to keep serving has increased and it is difficult. BUT when you sacrifice for God it always leads to good because He is good. When you think you have no time, money, or energy left to give God will provide so you can continue to serve. Many times I have been stressed and worried that I wouldn’t be able to keep our ministry going, raise the boys, and keep my sanity but God always comes forth with blessings of rest, helping hands, time, and supplies.

Leading bible study while wearing Charlie. I’m sure I lost cool points with the young adults but you gotta do what you gotta do! 🙂

If you have a young family and are struggling to continue to serve like you did before kids I encourage you to just keep going. Keep showing up, keep putting Christ first, and put your faith in God to take care of all the rest. He will provide for your every need. It will be difficult and the sacrifice will be great but the blessings and eternal impact will be worth it.

Mom Life

Crawling and Potty Training!

Charlie just turned 7 months old and month 6 was packed with firsts! I feel like he officially transitioned out of that new baby phase. :’-(

img_7401

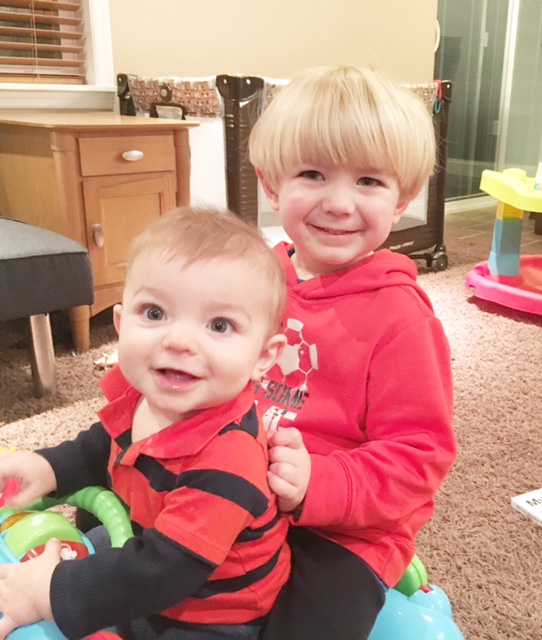
His bottom two teethe came in, he started crawling, eating baby food, and pulling himself up on everything! Now that is he able to play around on the floor and get around a bit Timmy is all about playing games with him which is adorable. He plays hide and seek, plays animals, sings him songs, dances with him, and tries to wrestle him (with me regulating aka saving Charlie’s life). Timmy really is the sweetest big brother! The first thing he says to him in the morning is, “Good morning handsome Charlie!”.

fullsizerender-2

So far all of Charlie’s firsts have happened at the same time as Timmy’s. We’ll see if Charlie is able to keep up, I think he wants to start walking immediately to chase his big brother.

Charlie is so smiley and easy going. He goes right to sleep when we lay him in and never fusses. He’s sleeping in till like 9:30 which is great. I think he’s trying to make up for the first 5 months of sleepless nights. It’s pretty amazing have an official bedtime for both boys and not having to get up with them again until morning. Jordan and I got our evening hang out times back!

While Charlie is busy moving all around exploring and putting everything in his mouth, we started potty training Timmy. He is going to be 3 years old in April so I felt like it was time to crack down. We have been trying it for a while but we weren’t fully committed.

A couple weeks ago we removed the diaper and pants for 3 days straight…this was not glamorous. We roped off the carpeted areas of the house and went through a lot of paper towels and disinfectant wipes. A lot of people talk about using this method as a potty train fast method. It definitely helped us get further then all the other methods we tried but what I didn’t realize is this is the introduction and then it goes on and on from there, at least for us. We are still having lots of accidents unless we make him go to the potty like every 30 minutes or so. It is a big commitment. We’ve cut back a lot on the places we normally go during the week like story time at the library, museums, friends houses etc. If you are considering getting serious about potty training you might want to consider doing it during a month that you don’t have a lot going on. Although I’ve heard girls are much easier and faster to catch on!

This is the first time I’m potty training so any words of wisdom from experienced mommas? Please share! 🙂


Our Home Slider Posts

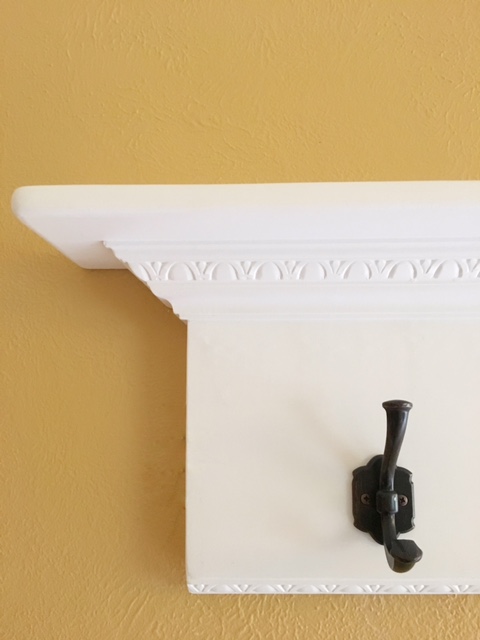
DIY – Entryway Coat Hanger & Shelf

Our entryway and living room are getting a makeover! Our front door opens up into our formal living room. I am working on creating a ‘hallway’ to make the entrance way more functional and set apart the living room to be more cozy and comfortable. Stay tuned for the full transformation! Today I am sharing one of the first major pieces of this project.

I have wanted a cute entryway coat hanger & shelf for a long time. Even though we have a hall closet all of our stuff ends up right inside the door on the couch or on the floor. This project is practical but also I love the look of them. I searched for them at various stores and on Etsy and they were super expensive. I decided to try to tackle this project on my own!

I found step by step instructions on Pinterest here. I left the kids with my mom and headed to Lowes. I found the lumber I needed but had no idea how I was supposed to walk around the store and get my other items with a couple of 8 foot pieces of lumber in my arms. I spotted these carts that looked like they were made for this and later realized I had my lumber on the cart incorrectly. It didn’t take long for me to realize I was in over my head on this one!

I did my best to continue finding my supplies. As I wondered around Lowes lost and confused an older man asked, “Do you have any idea what you are doing?”. I smiled and he said, “Watching too much t.v., huh?”…so I guess it was obvious I had no idea what I was doing but I was determined to make this happen!

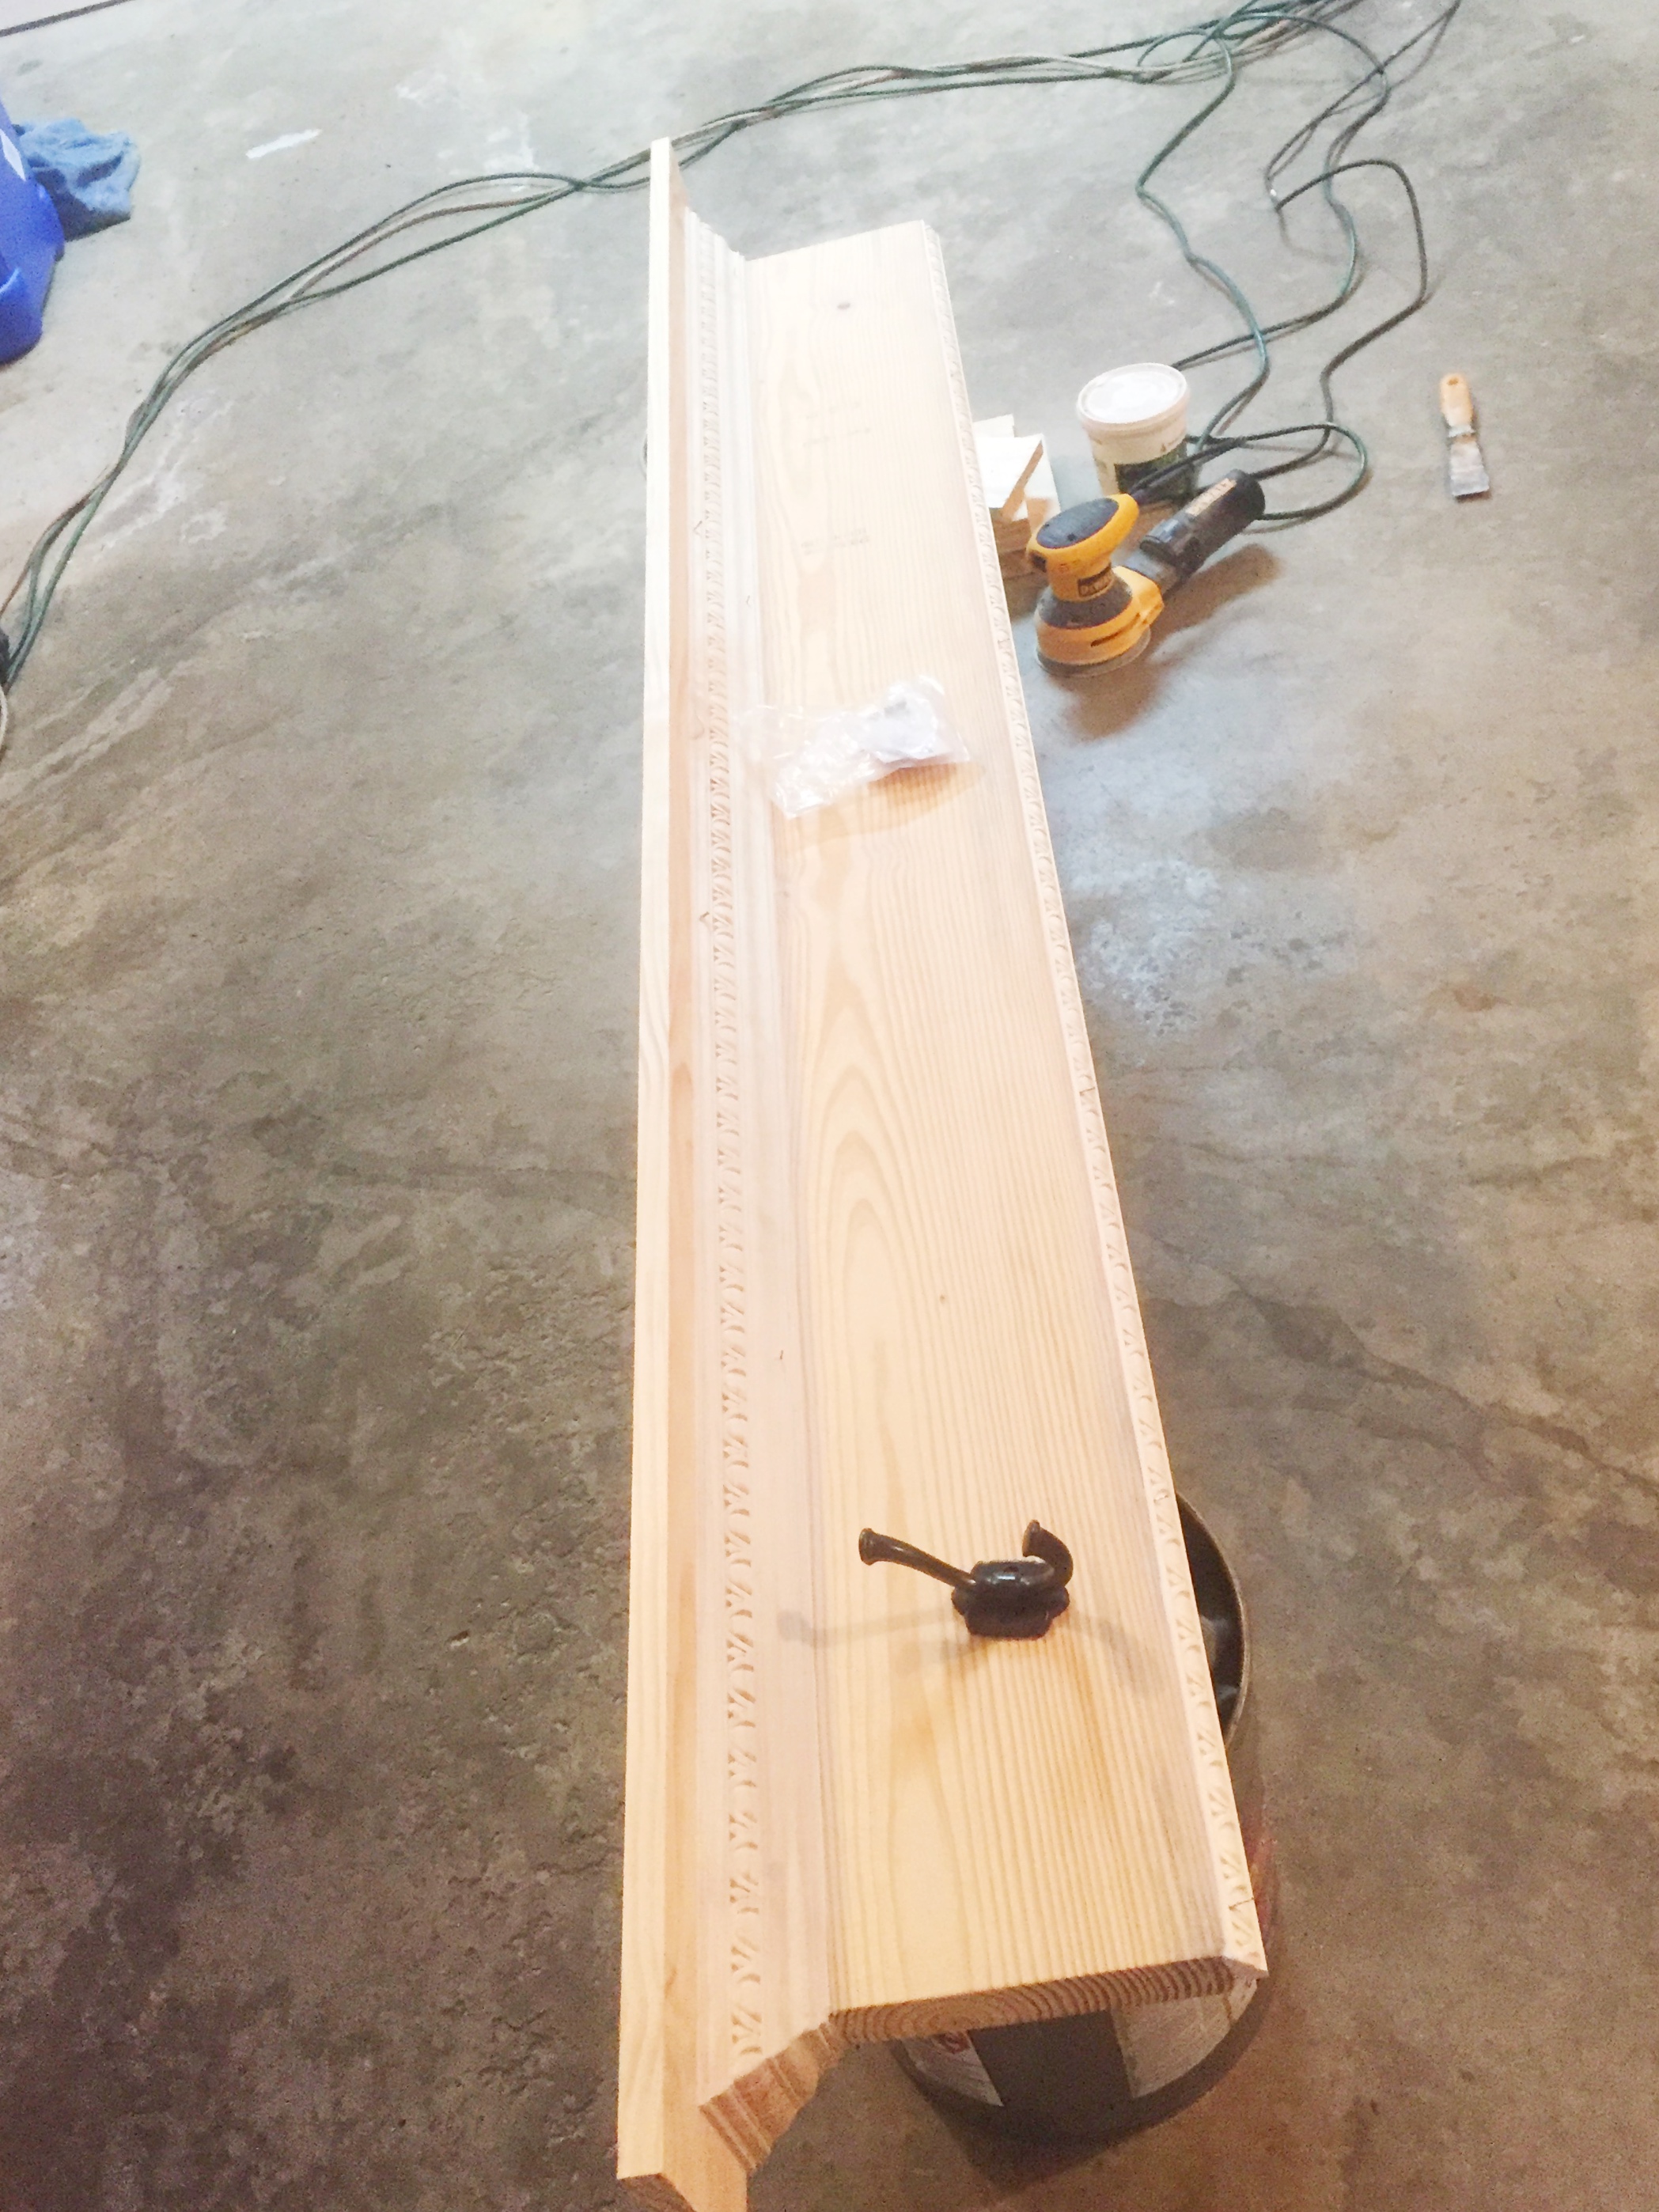
I took my supplies back to my parents house and ran it all past my dad. I had a few things wrong so we went back out together and got the proper items. At that point, I had my dad interested and thank goodness he was because this project was beyond my carpentry skills. If you read the comments below the instruction page you can see most people had trouble making the cuts on the crown molding. Thankfully my dad was able to do this for me.

unfinished

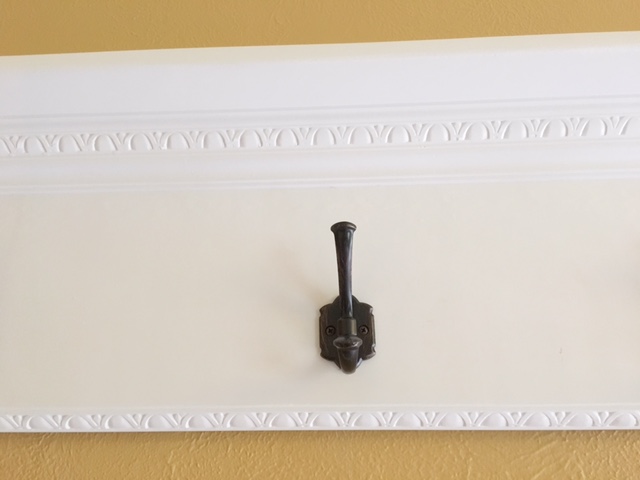
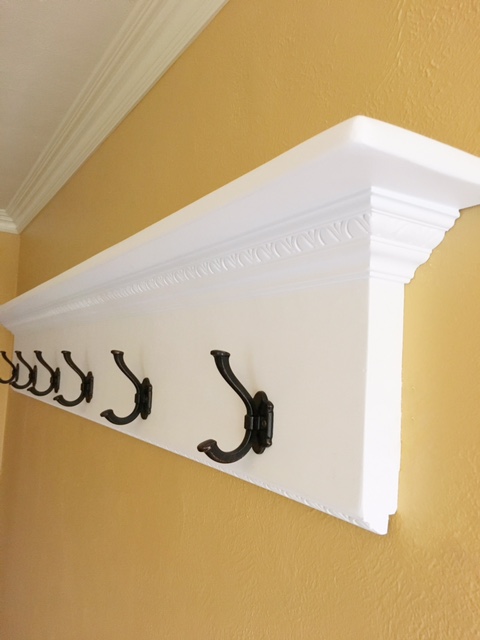
We ended up choosing crown molding with a more unique design than what’s shown in the instructions. It dressed it up a bit and gave it a more formal look.

fullsizerender_2fullsizerender_3

This is a big heavy piece so make sure you have a plan for where and how to hang it before you go to the trouble to make it. You need to hit studs and you want to do so behind the hooks. Figuring this out was like a SAT math problem…thankfully my husband is good at math. We were able to hit two studs on the first and fifth hook.

fullsizerender_1


fullsizerender-3

I LOVE the way this turned out! It cost about $80 to make…much cheaper than the ones I saw for sell for hundreds of dollars. BONUS: it’s another place in the house to display pictures!

I’ll post more about the entryway and living room makeover as we finish it. We are picking up a new couch tomorrow! For a sneak peak check out my pinterest board.

Mom Life Our Home

Welcome!

Hello Friends! Welcome to a blog about the Rowdy Routch’s. This is not a self proclaimed nickname…this is a name I married into. I haven’t been able to shake it over the last 7 years so it looks like it is going to stick. It started with a nickname my husband was given in college…they started calling him J-Rowdy, Rowdy, Rowdy Routch etc. You know, just guys being guys. The weird part of the story is when my husband decided to get a vanity license plate that says ‘J-Rowdy’…yup it’s true. It’s pretty embarrassing, especially when I have to drive his car. Secretly, I kind of love the corkiness of this but that doesn’t stop me from making fun of him for it every chance I get.

As a result, I have become C-Rowdy; Timmy is T-Rowdy; Charlie is C-Rwody squared…I think you get the point. 🙂 We have a few groupies who are self proclaimed Rowdy’s as well.

I hope you enjoy following along as I share our experiences raising our boys and the fun home decor and DIY stuff that I do with my minimal spare time!